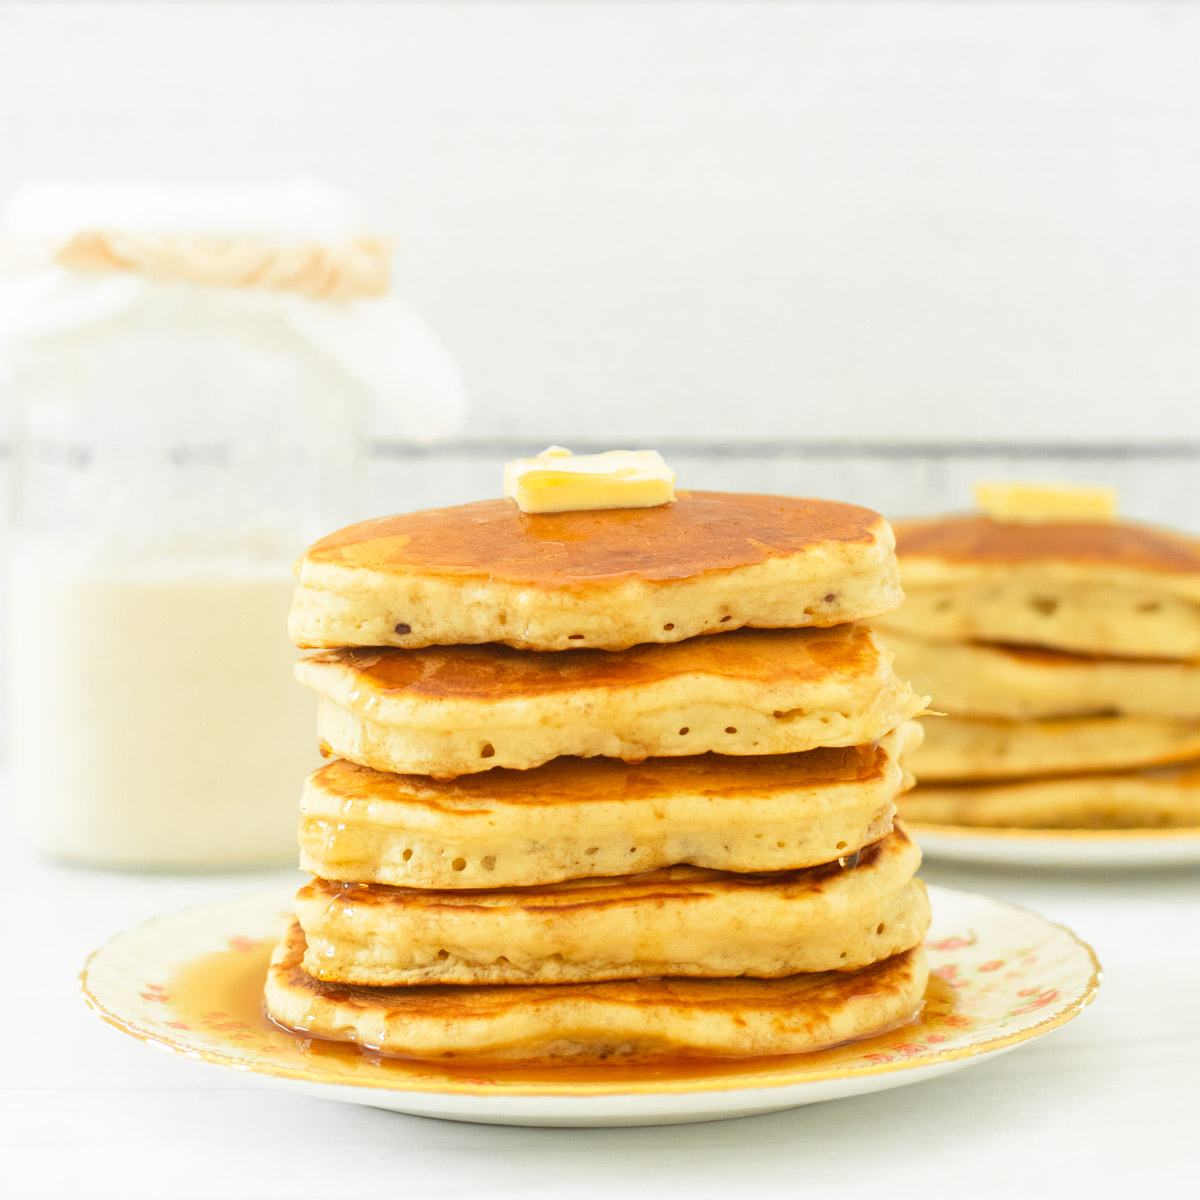
This guide to how to make sourdough bread is an easy-to-follow step-by-step guide to making classic sourdough bread from scratch. This recipe calls for 4 simple ingredients to make delicious, homemade bread.
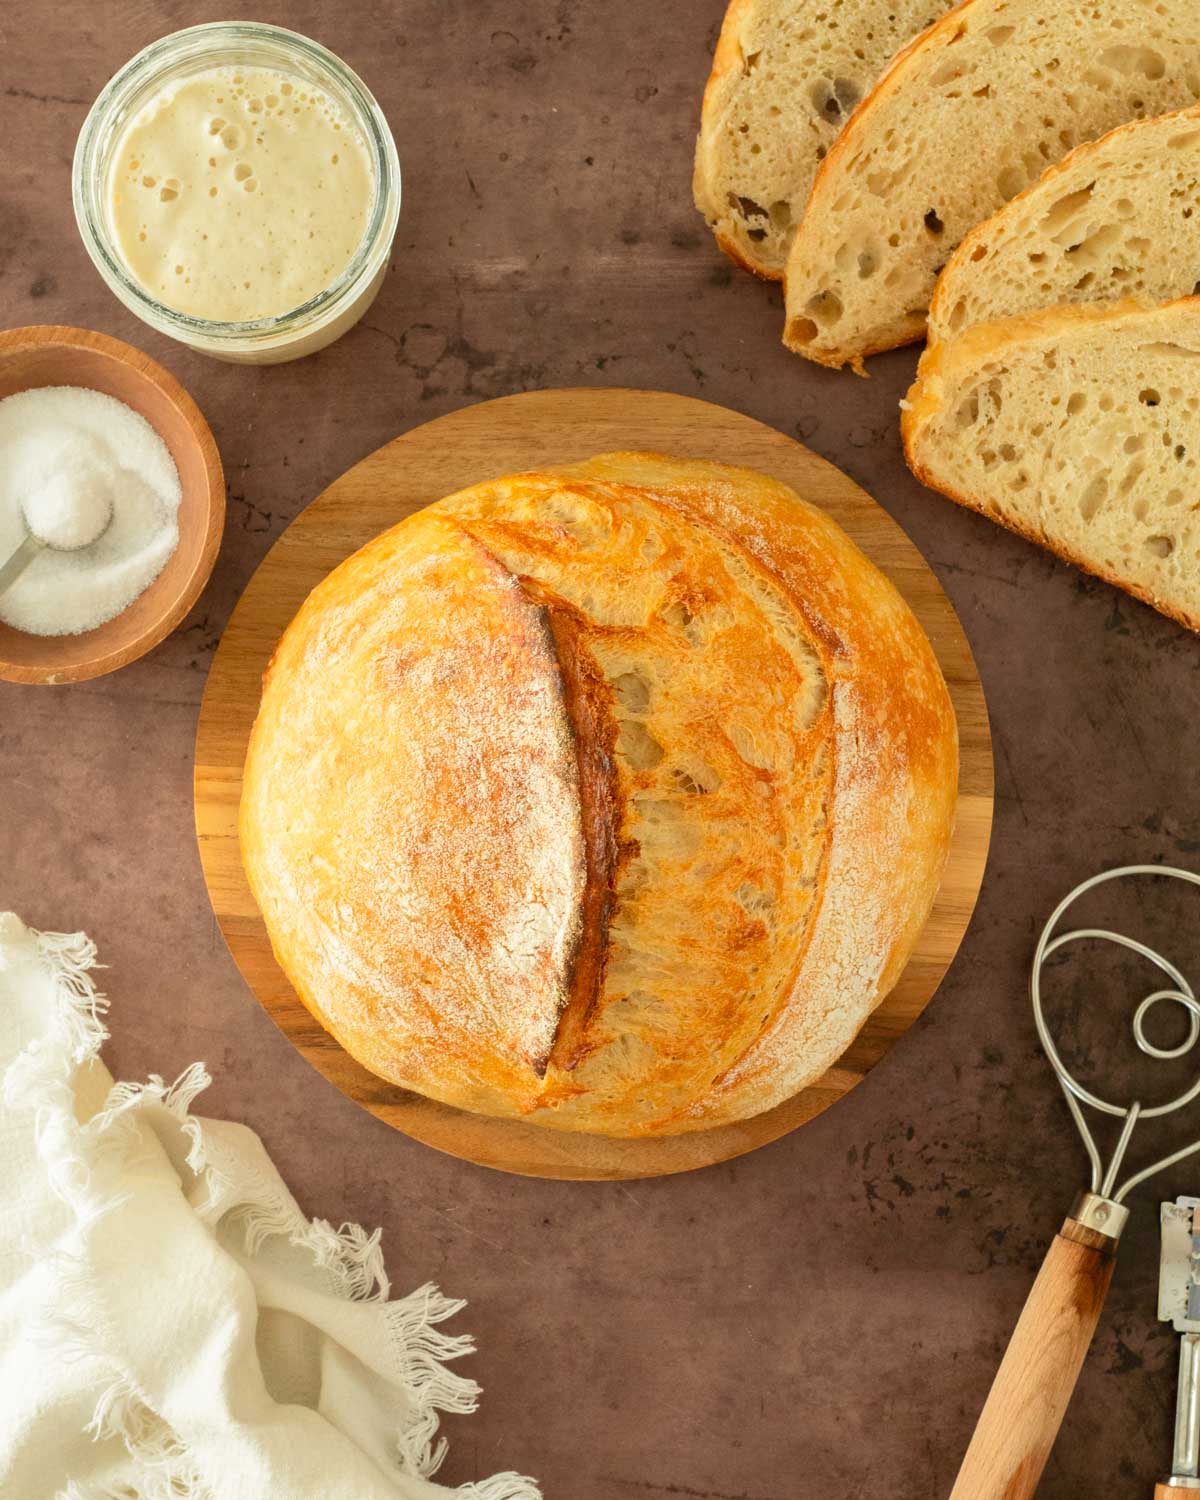
Have you always wanted to bake sourdough bread? Then you have come to the right place. Sourdough bread is easy to make with an active, bubbly sourdough starter.
Our recipe for sourdough bread is simple and made with only 4 ingredients - sourdough starter, water, flour and salt. This guide takes you step-by-step through the process of making classic sourdough bread.
Jump to:
What is Sourdough?
Sourdough bread is bread made with a sourdough starter as the leavening agent. A sourdough starter is an active culture of beneficial bacteria and yeast made through the process of fermenting flour and water.
Because your sourdough starter is the sole leavening agent in the recipe, it is important to use a healthy, active, bubbly starter. A healthy and active starter will produce great bread. Using a starter that is not bubbly or active will result in a dense loaf that doesn't rise.
When is the Starter Ready to Use?
You want to use an active, bubbly starter at its peak for this recipe.
Your sourdough starter is ready to use when it has fermented at room temperature, has doubled in size and is bubbly.
This can take anywhere from 4-12 hours depending on how mature and strong your starter is as well as the temperature in your home.
You can do the float test to check if your starter is ready to bake with.
- Fill a bowl with room temperature water.
- Add 1 teaspoon starter to the water.
- If it floats, it is ready to use.
Stages of Sourdough Bread
- Leaven. The leaven is the active, bubbly starter that will be used to leaven the bread. Combine ½ cup flour, ½ cup water and 1-2 heaping Tablespoons sourdough starter in a clean jar. Stir to combine and allow to ferment at room temperature until bubbly and active.
- Autolyse. Combine water, leaven (starter) and flour in a bowl and allow to sit for 30 minutes. This allows the dough to start developing gluten strands and begin fermenting.
- Bulk Ferment with Stretch and Folds. After you allow the dough to autolyse, add the salt and stretch and fold to combine the salt into the dough. During this stage, stretch and fold the dough every 30 minutes over the course of 2 hours to allow oxygen into the dough which helps facilitate fermentation and the development of gluten strands.
- Long Ferment. The long ferment occurs over the course of about 12 hours (can be done overnight). Cover the dough and set in the fridge or leave at room temperature for 12 hours to allow it to ferment and double in size. I prefer to leave my dough at room temperature for this stage, but there is risk of over-fermenting if left at room temperature for too long.
- Lamination. After the long-ferment, stretch the dough out into a thin rectangle on the countertop. The dough should be smooth, stretchy and not rip.
- Shape the Dough. After stretching the dough out thinly, fold one side over into the middle, then the fold the other side over. Roll the dough up into a ball with the seam-side down. Build tension in the dough by moving the dough away from you on the countertop, then pulling it back toward you, keeping the seam side of the dough down.
- Proofing. Place the shaped dough into a banneton basket to proof in the fridge.
- Score and Bake. Scoring the dough gives the dough a weak point that allows it to keep its shape while it expands during baking.
Ingredients for Sourdough Bread
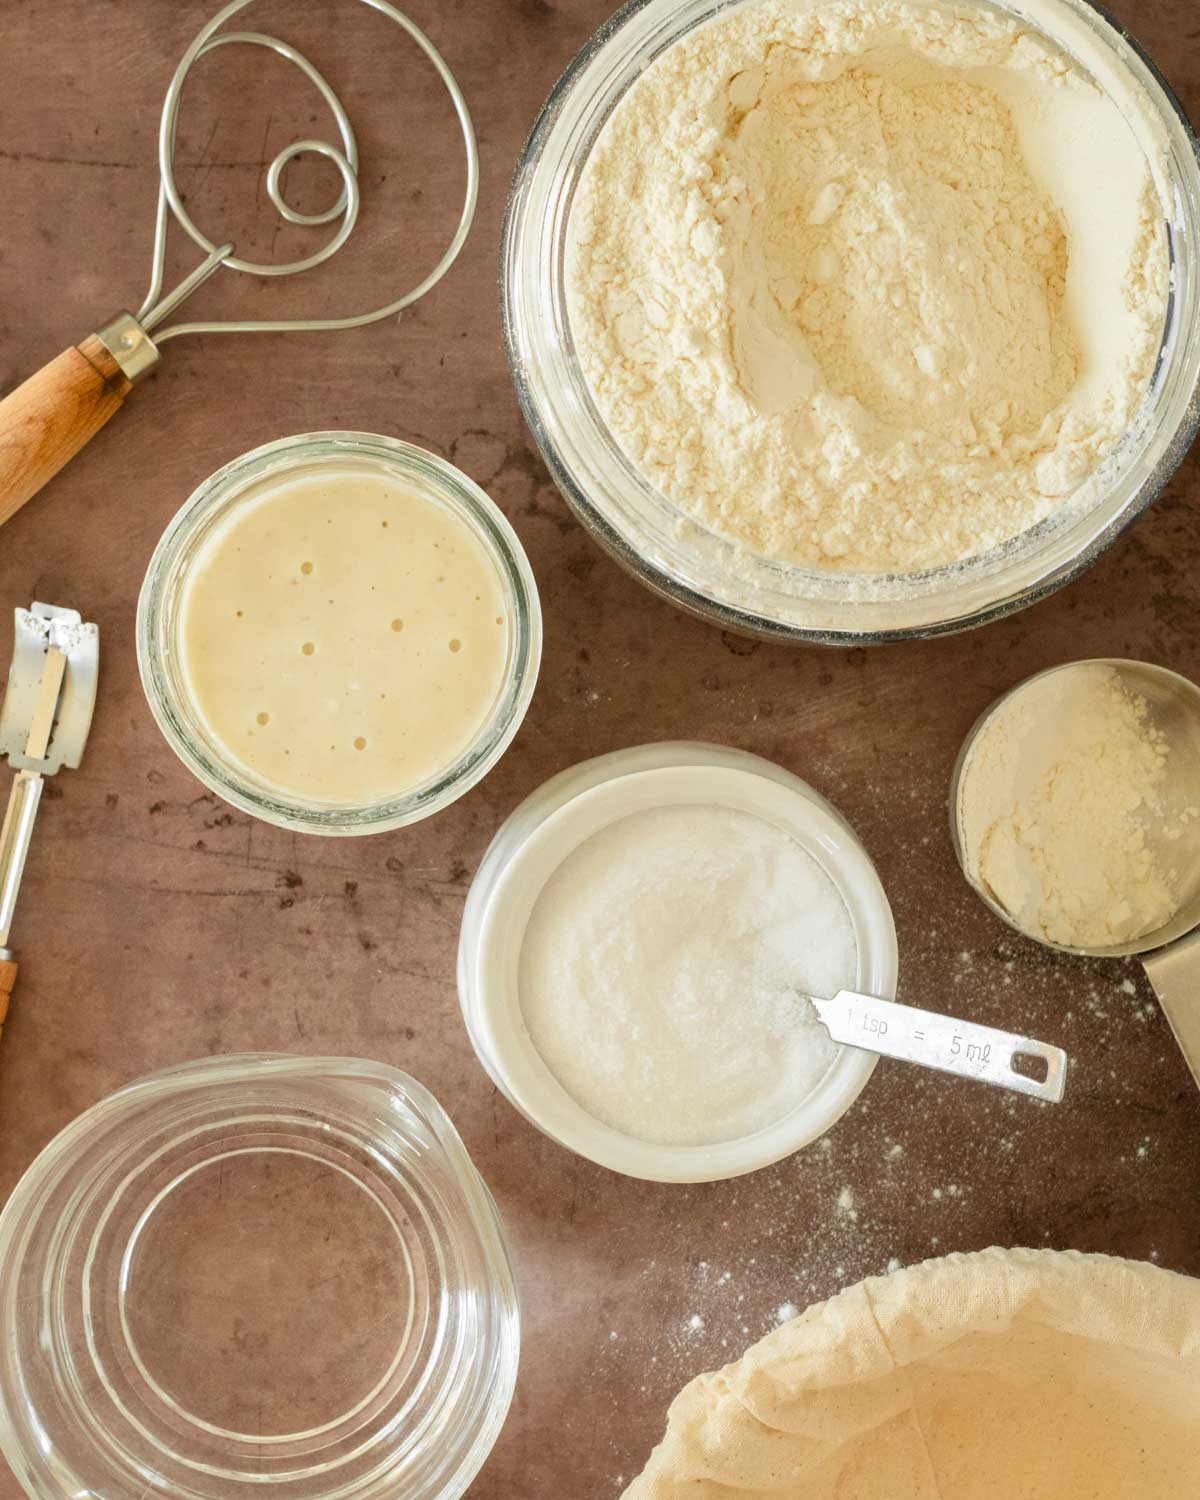
- Sourdough Starter - A bubbly, active sourdough starter is essential for leavening sourdough bread. You want to use a starter at its peak in this recipe. This is when the starter has doubled in size, is bubbly, smells sour and passes the float test.
- Water - Water helps allow the process of fermentation to occur. Use room temperature or slightly chilled water for this recipe. Do not use hot water.
- Flour - It is important to use an unbleached flour for sourdough baking. Unbleached flours are less processed and have a better gluten structure to support fermentation. You can use unbleached all-purpose flour or unbleached bread flour.
- Salt - Salt is essential in sourdough for tightening the gluten structure and therefore tightening the dough. It also helps enhance the flavor of the bread.
Complete list of ingredients and amounts is located on the recipe card below.
Kitchen Tools & Equipment
- Kitchen Scale - We highly recommend using a kitchen scale to measure out the ingredients for accuracy and best results.
- Large Glass or Stoneware Bowl - A large bowl is necessary for mixing the bread dough and allowing it to ferment. We recommend a glass bowl or stoneware bowl. We don't recommend using a metal bowl, because it may affect your sourdough as acid reacts with metal.
- Dough Whisk - A dough whisk helps to combine the ingredients.
- Plastic Wrap - We like to use plastic wrap to cover the dough as it ferments because it helps to keep the moisture in the bowl so the dough doesn't dry out.
- Bench Scraper - A bench scraper helps to transfer the shaped dough to the proofing basket.
- Proofing Basket - A proofing basket helps the dough to hold its shape as it proofs. You can use a bowl lined with a tea towel if you do not have a basket.
- Bread Lame - A bread lame makes scoring the loaf easy to do, but a sharp knife or razor blade works great too.
- Dutch Oven - A Dutch oven is necessary for baking the sourdough loaf in.
- Parchment Paper - Parchment paper sits under the loaf as it bakes in the Dutch oven so it can easily be removed after baking.
How to Make Sourdough Bread
Follow this step-by-step guide to make sourdough bread. Specific instructions and timing is located on the recipe card below.
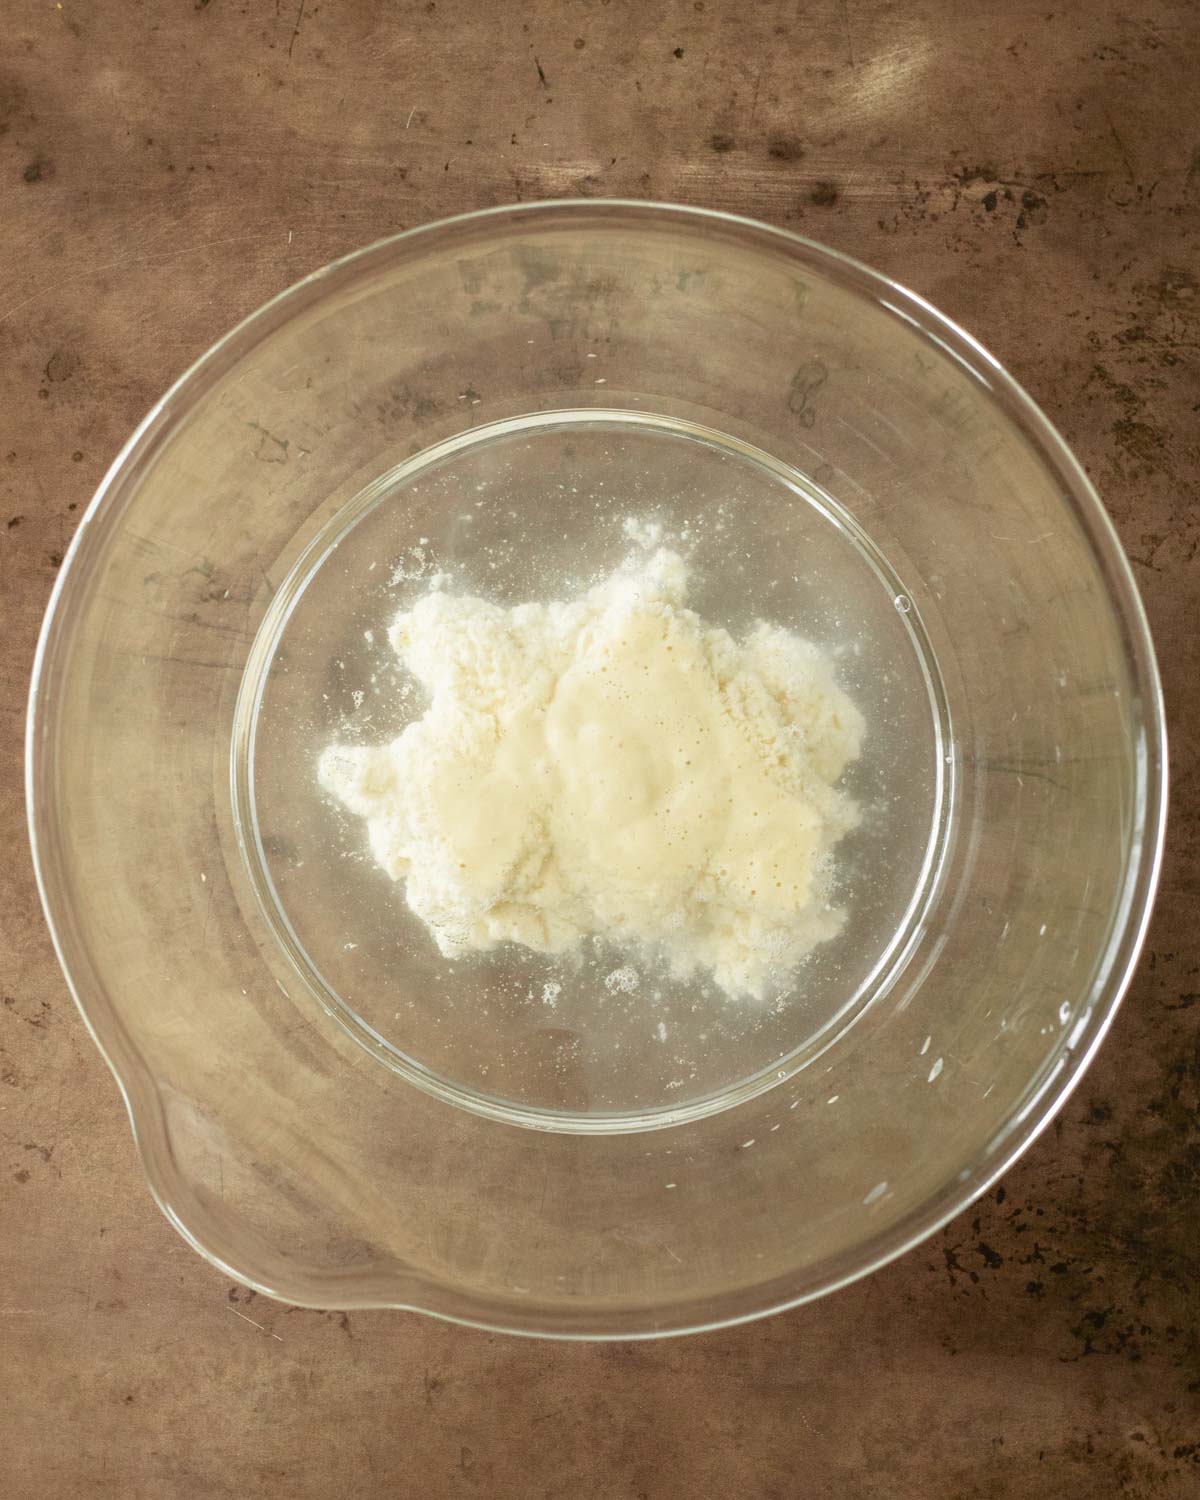
Step 1. Add the water and sourdough starter (leaven) to the bowl.
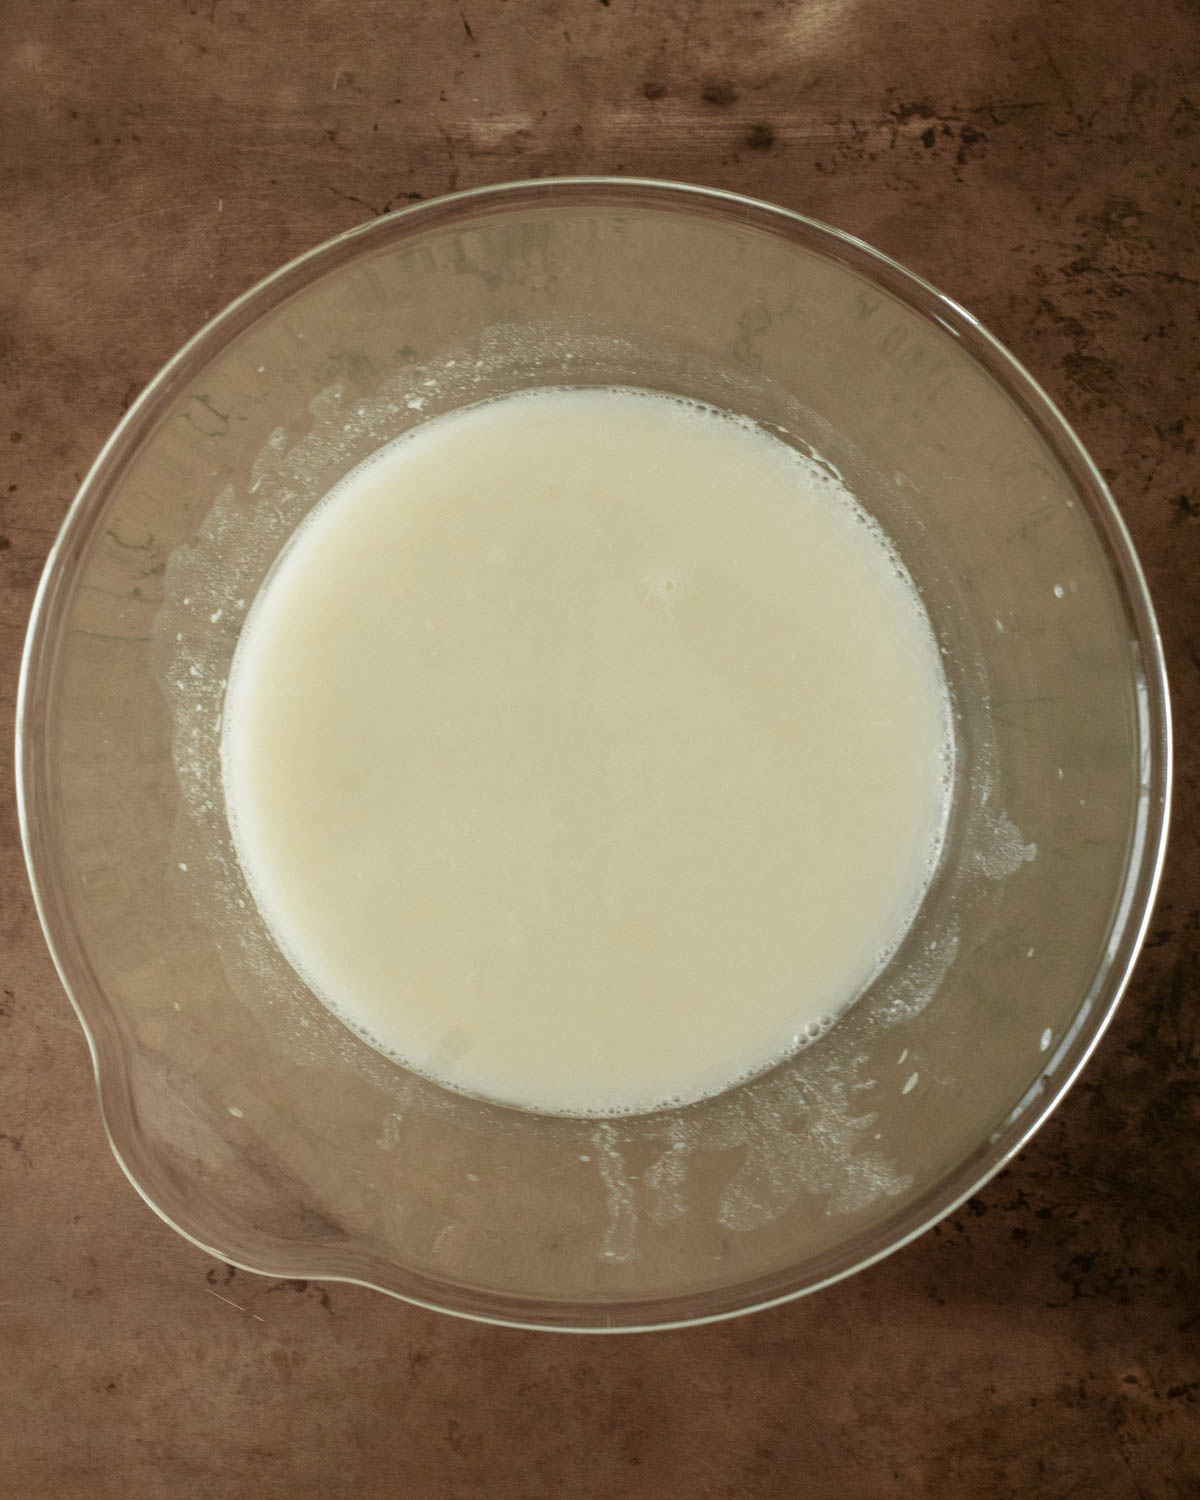
Step 2. Whisk to combine.
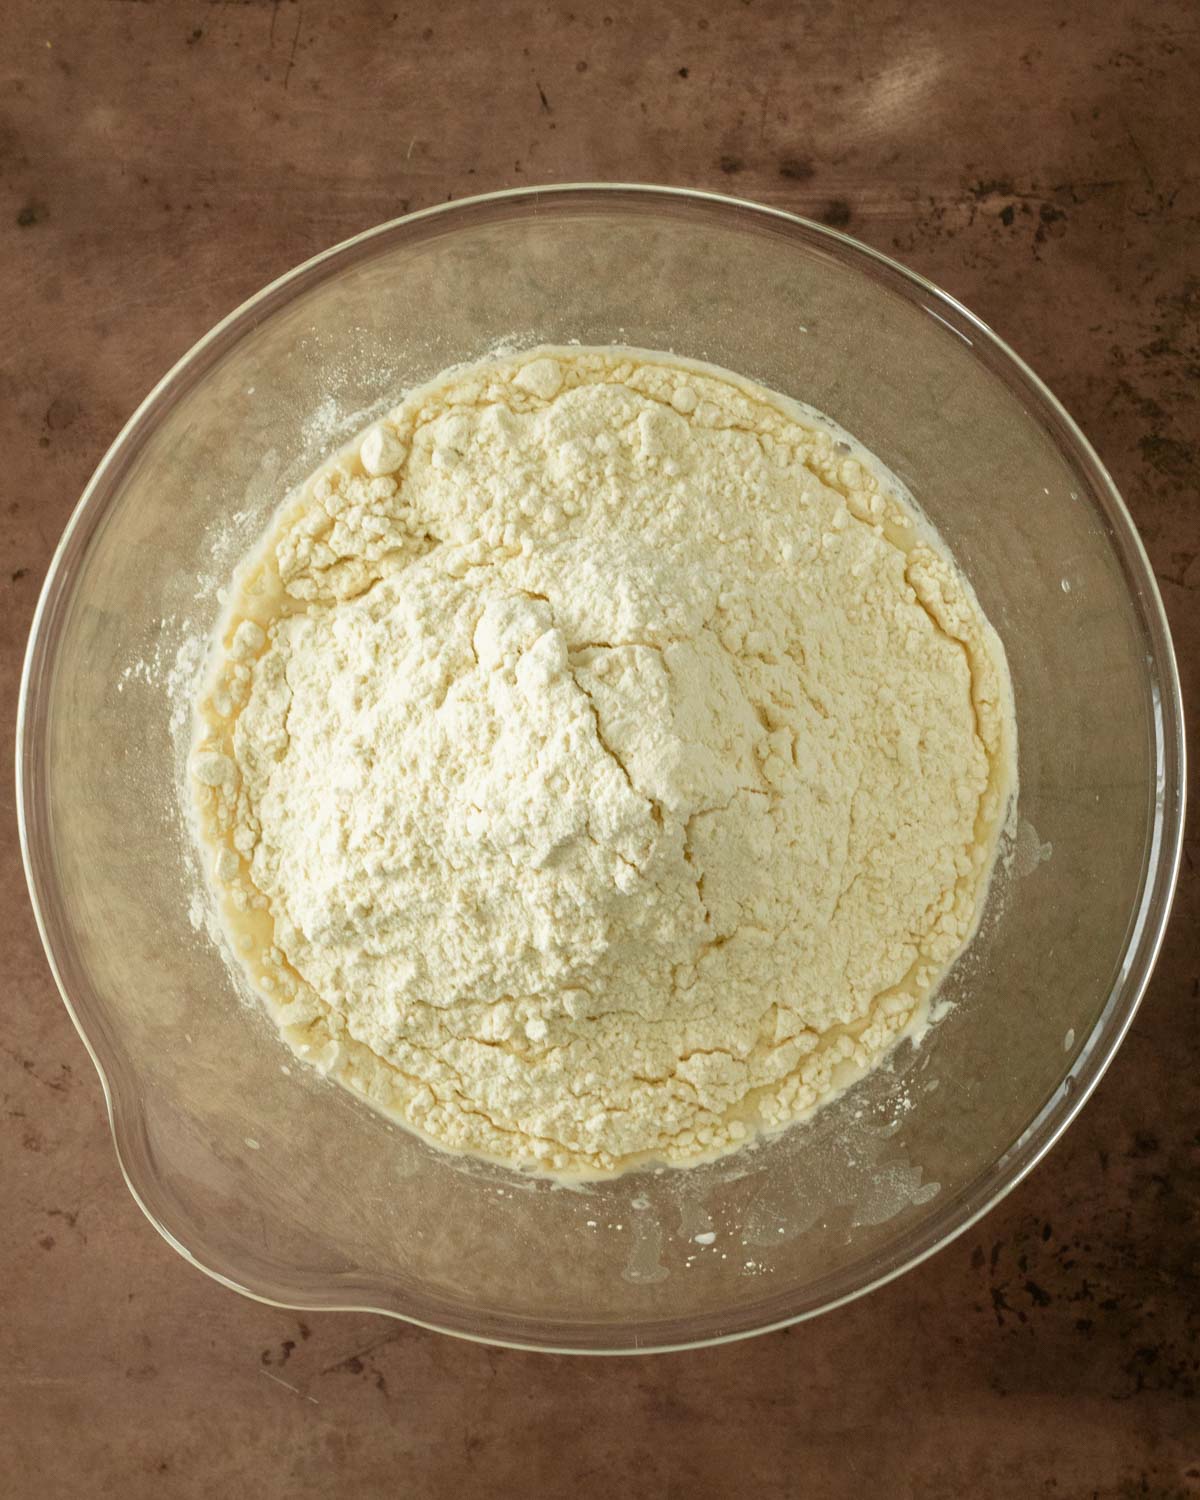
Step 3. Add the flour.
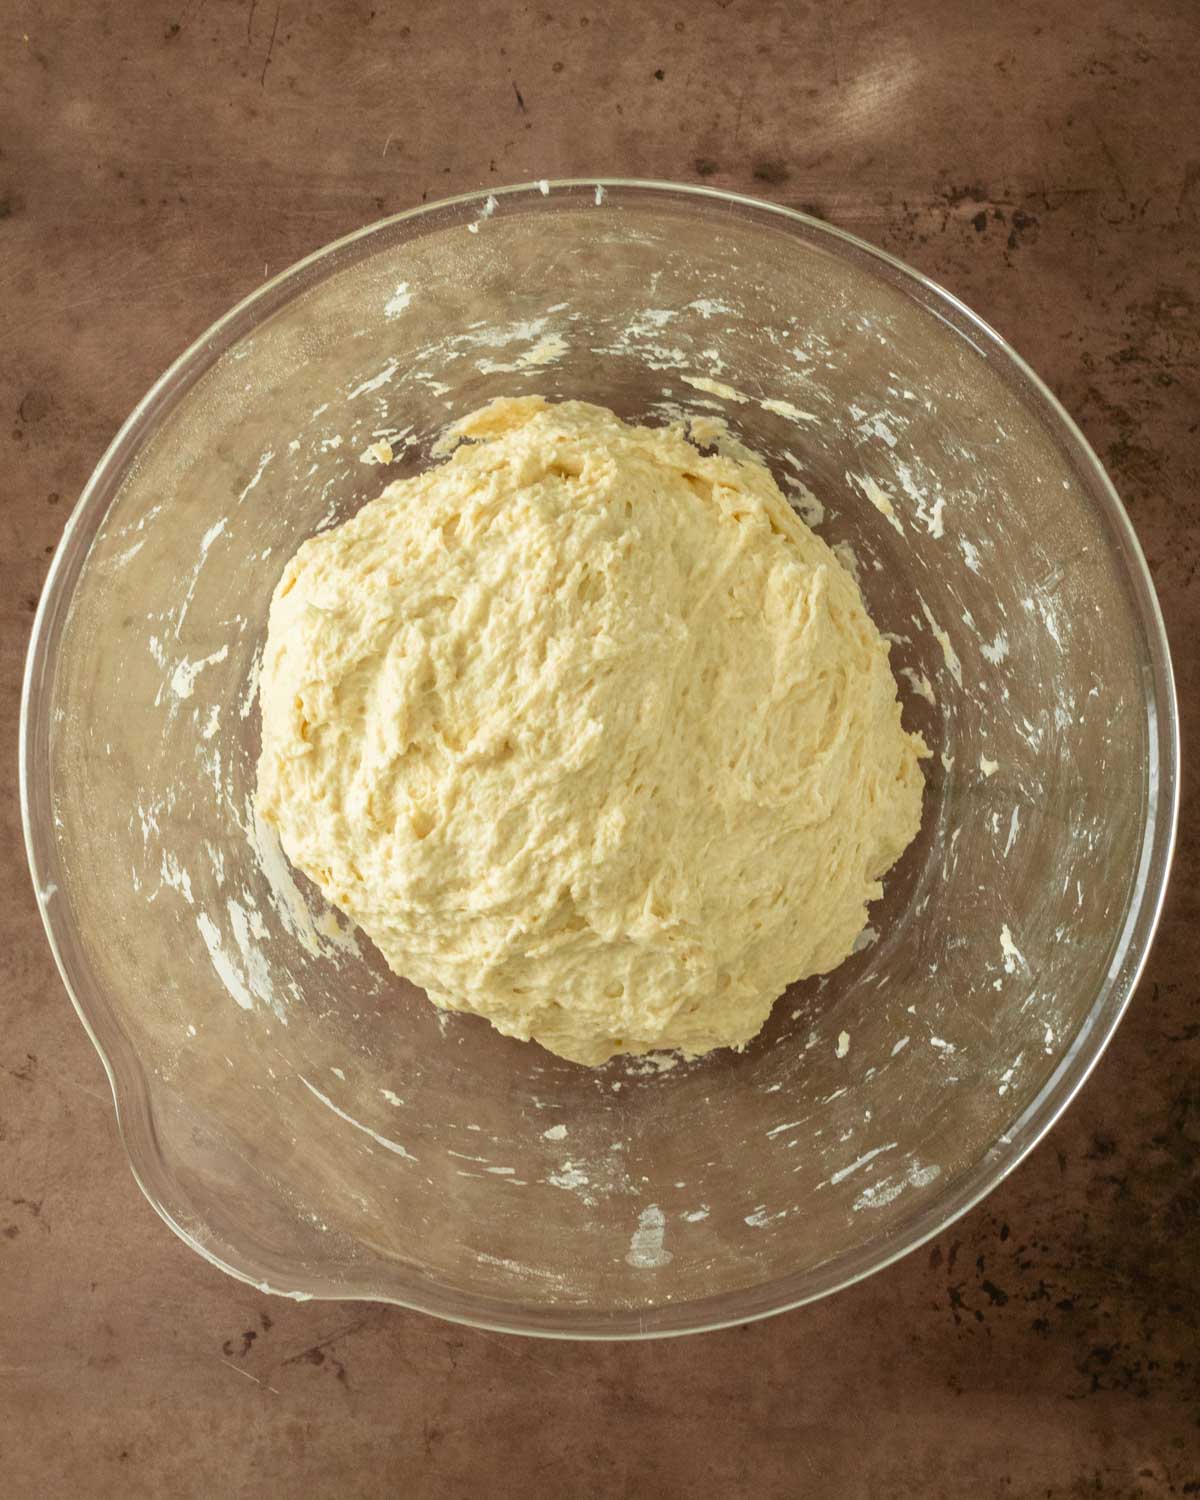
Step 4. Mix to combine into a shaggy ball of dough. Cover for 20 minutes to autolyse.
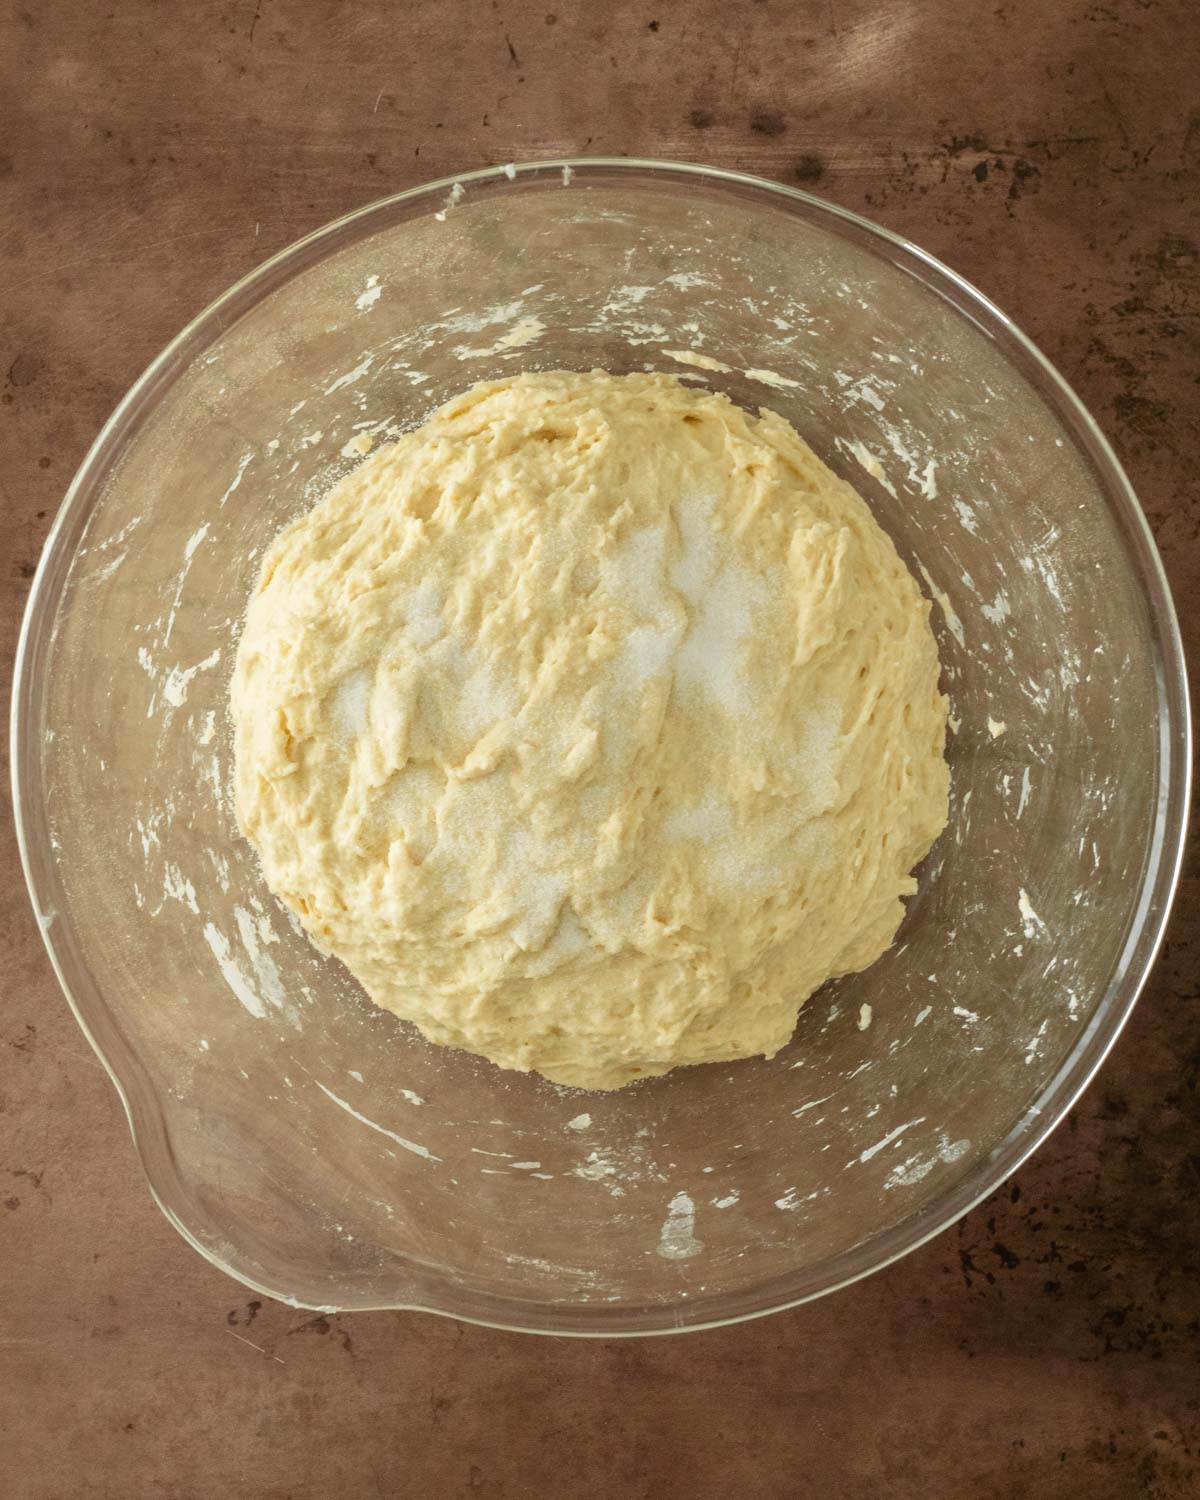
Step 5. Sprinkle the salt on top of the dough.
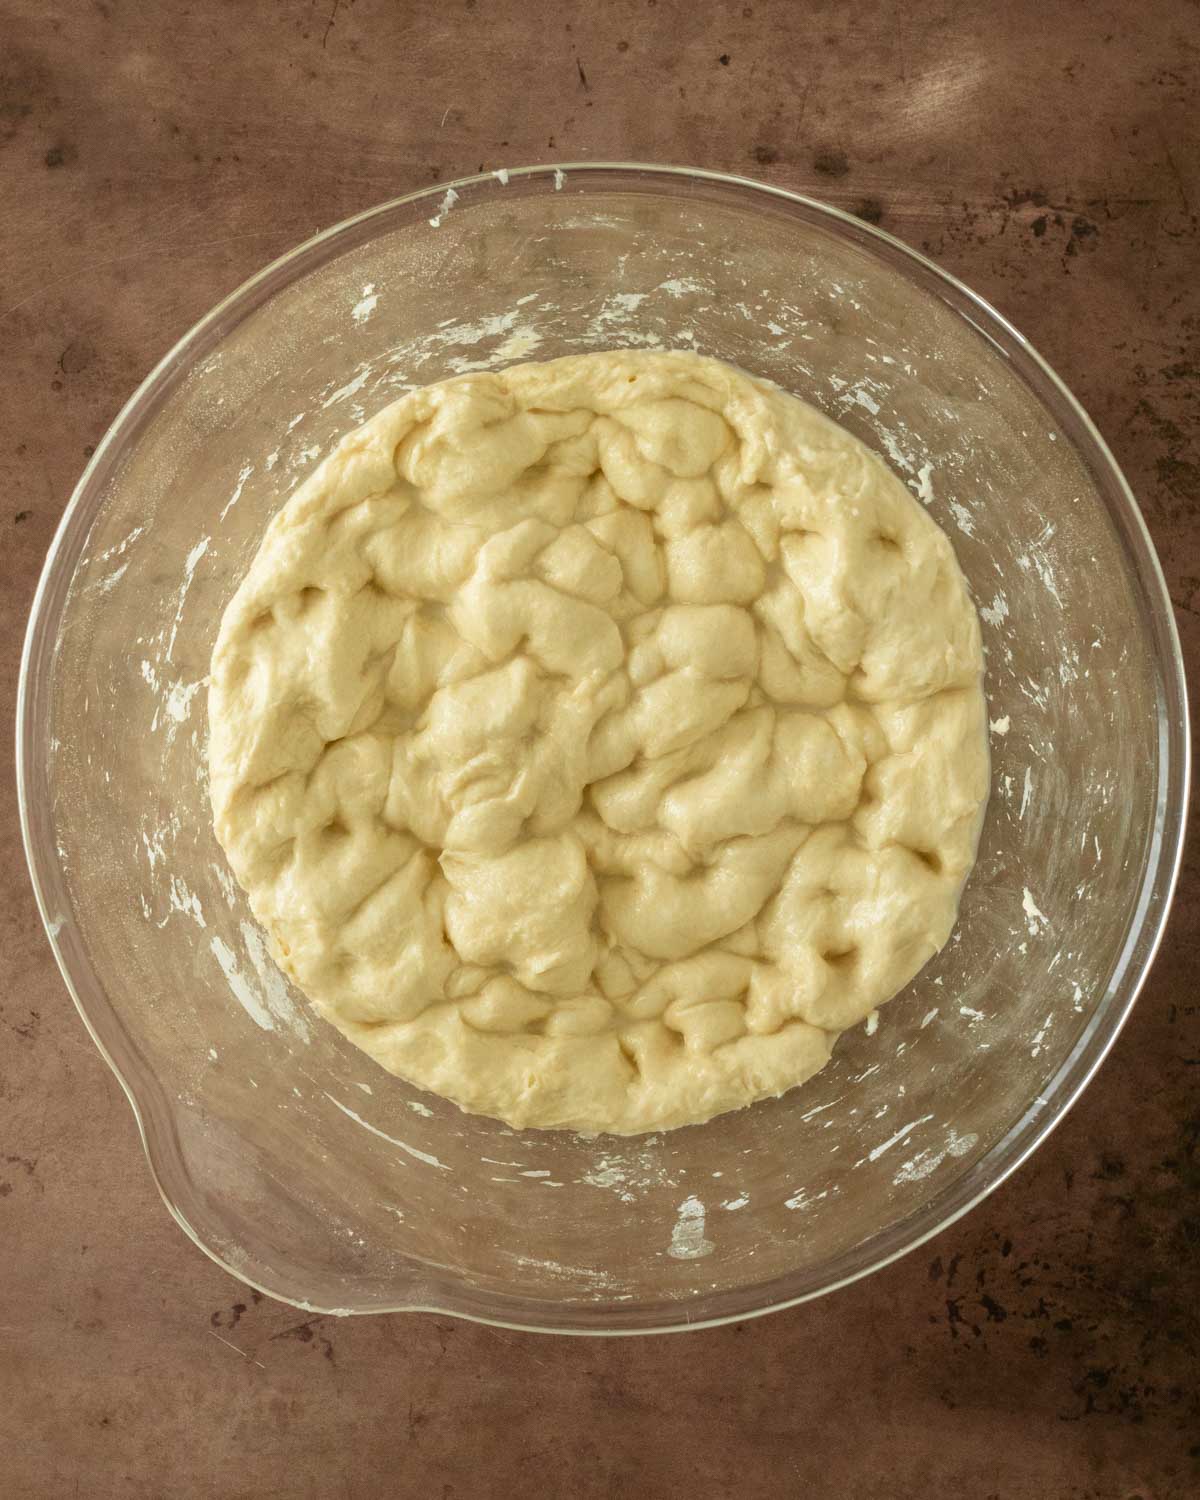
Step 6. Use your fingers to poke the salt into the dough.
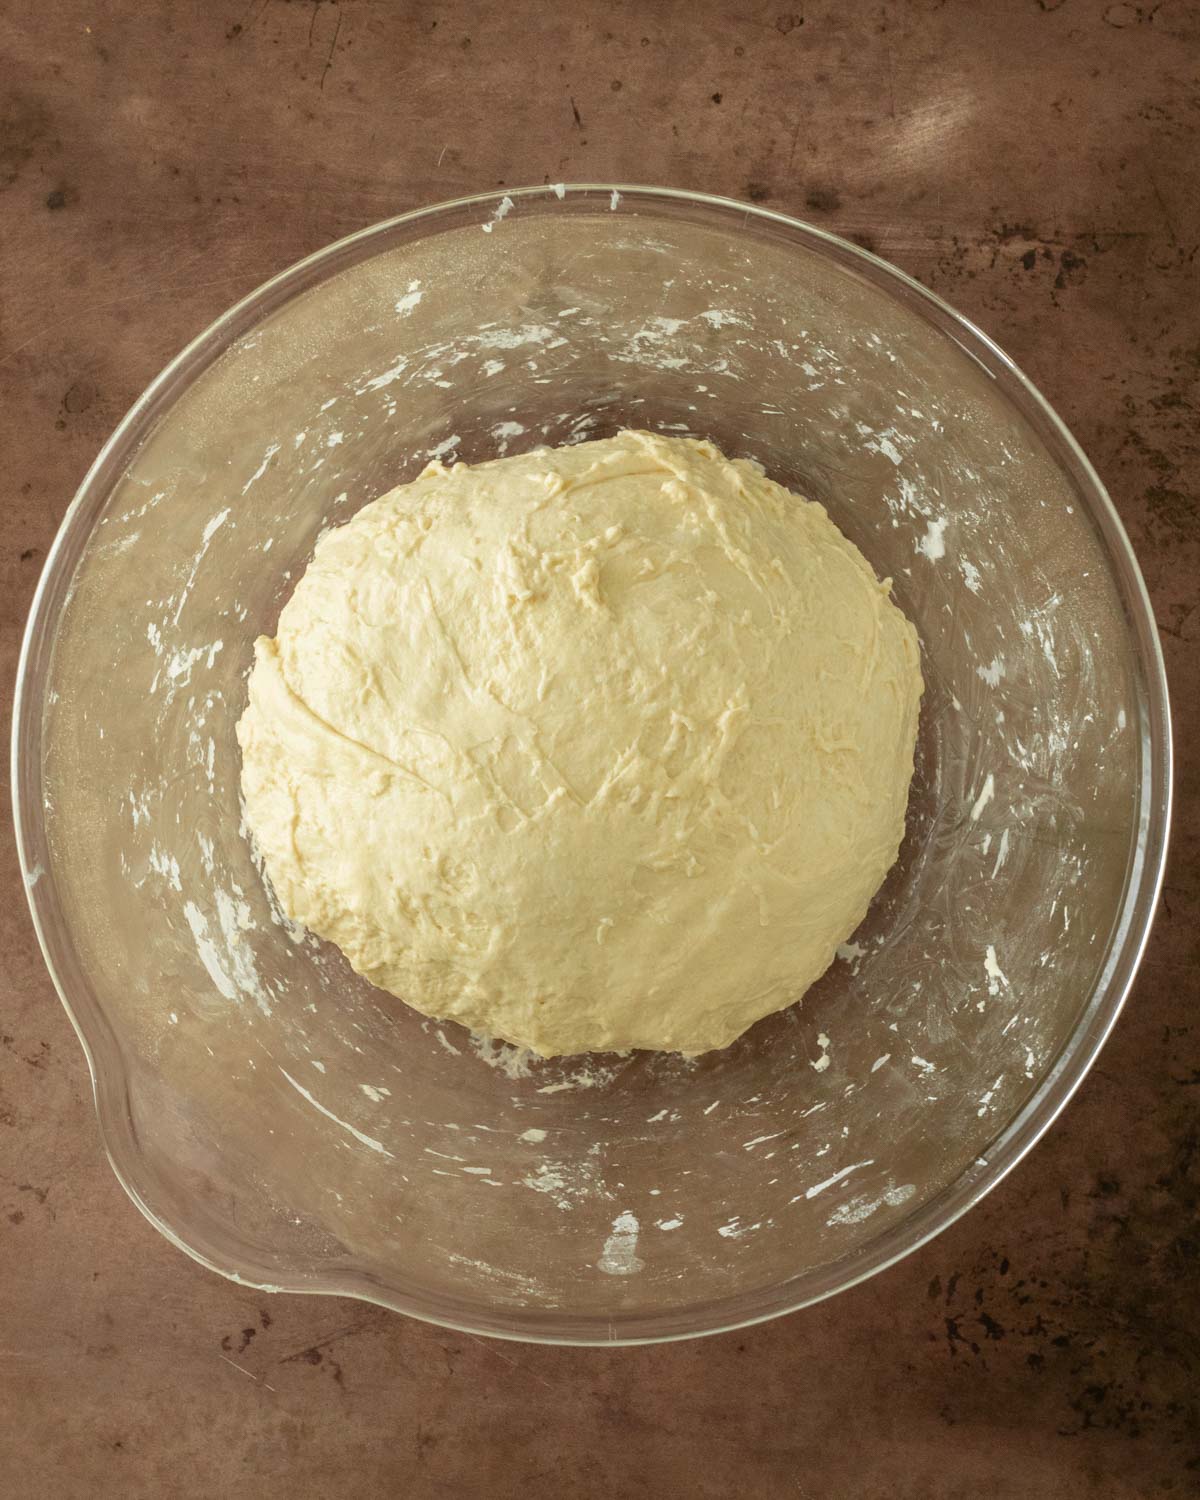
Step 7. Stretch and fold the dough to mix the salt in.
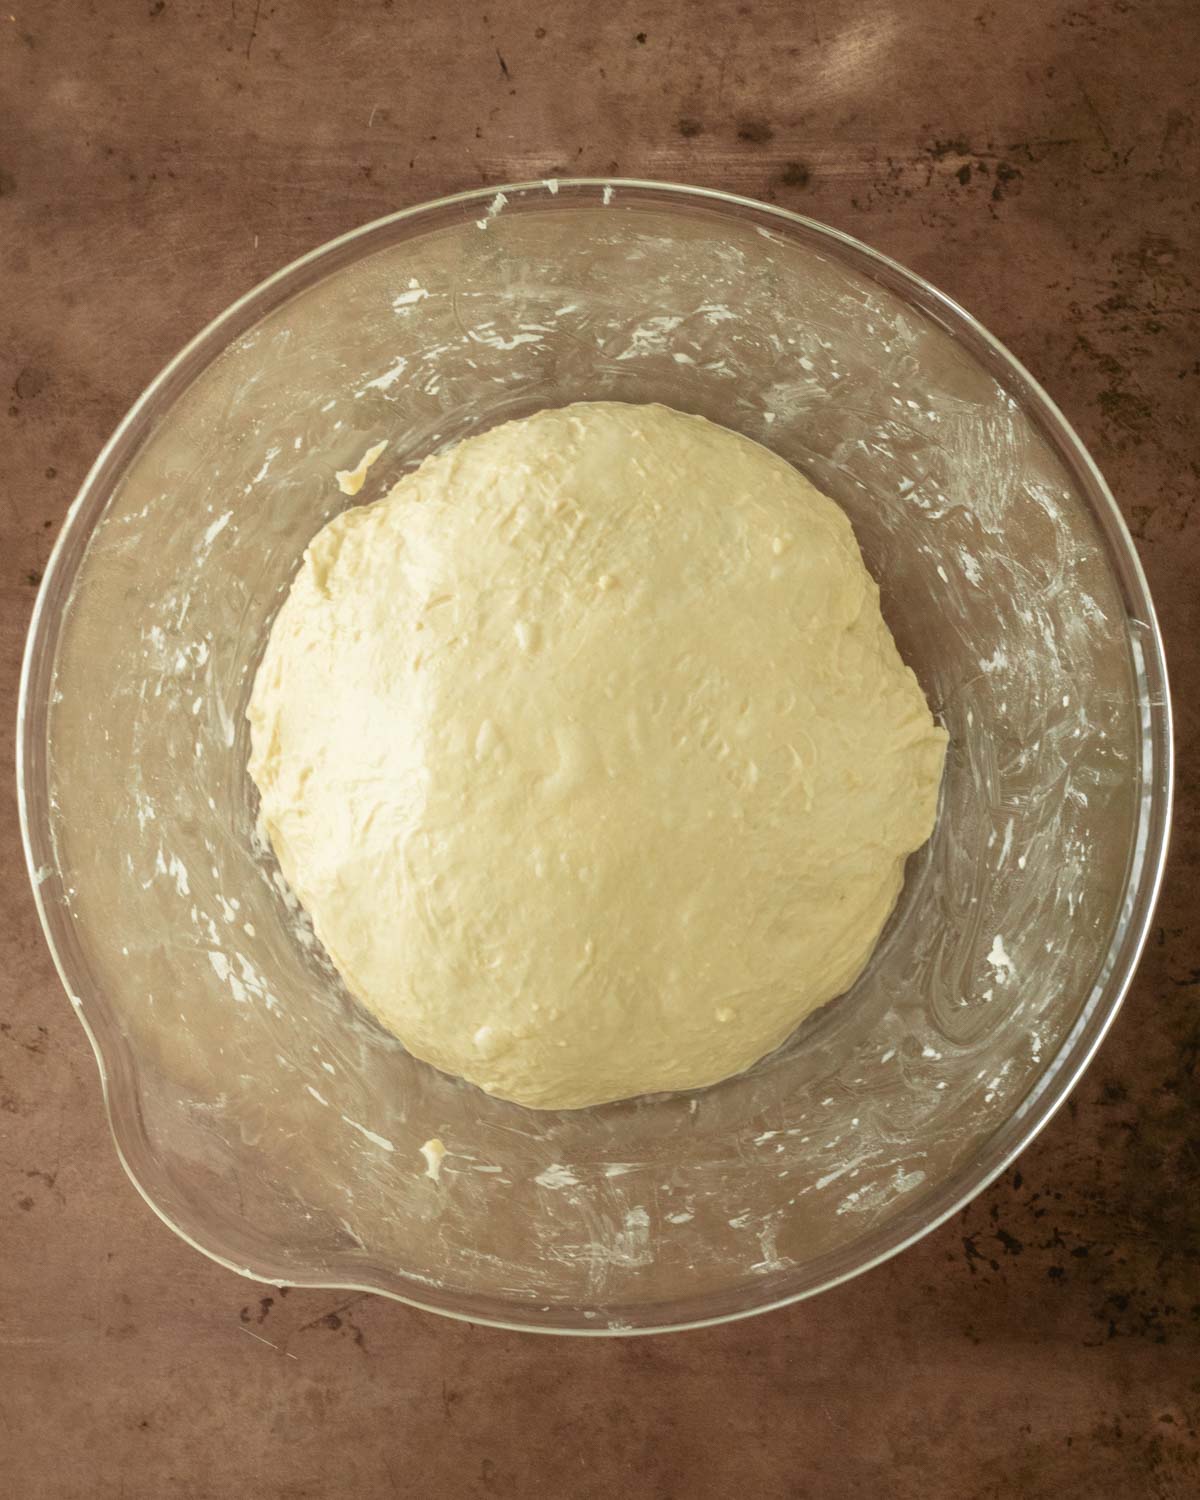
Step 8. Stretch and fold the dough.
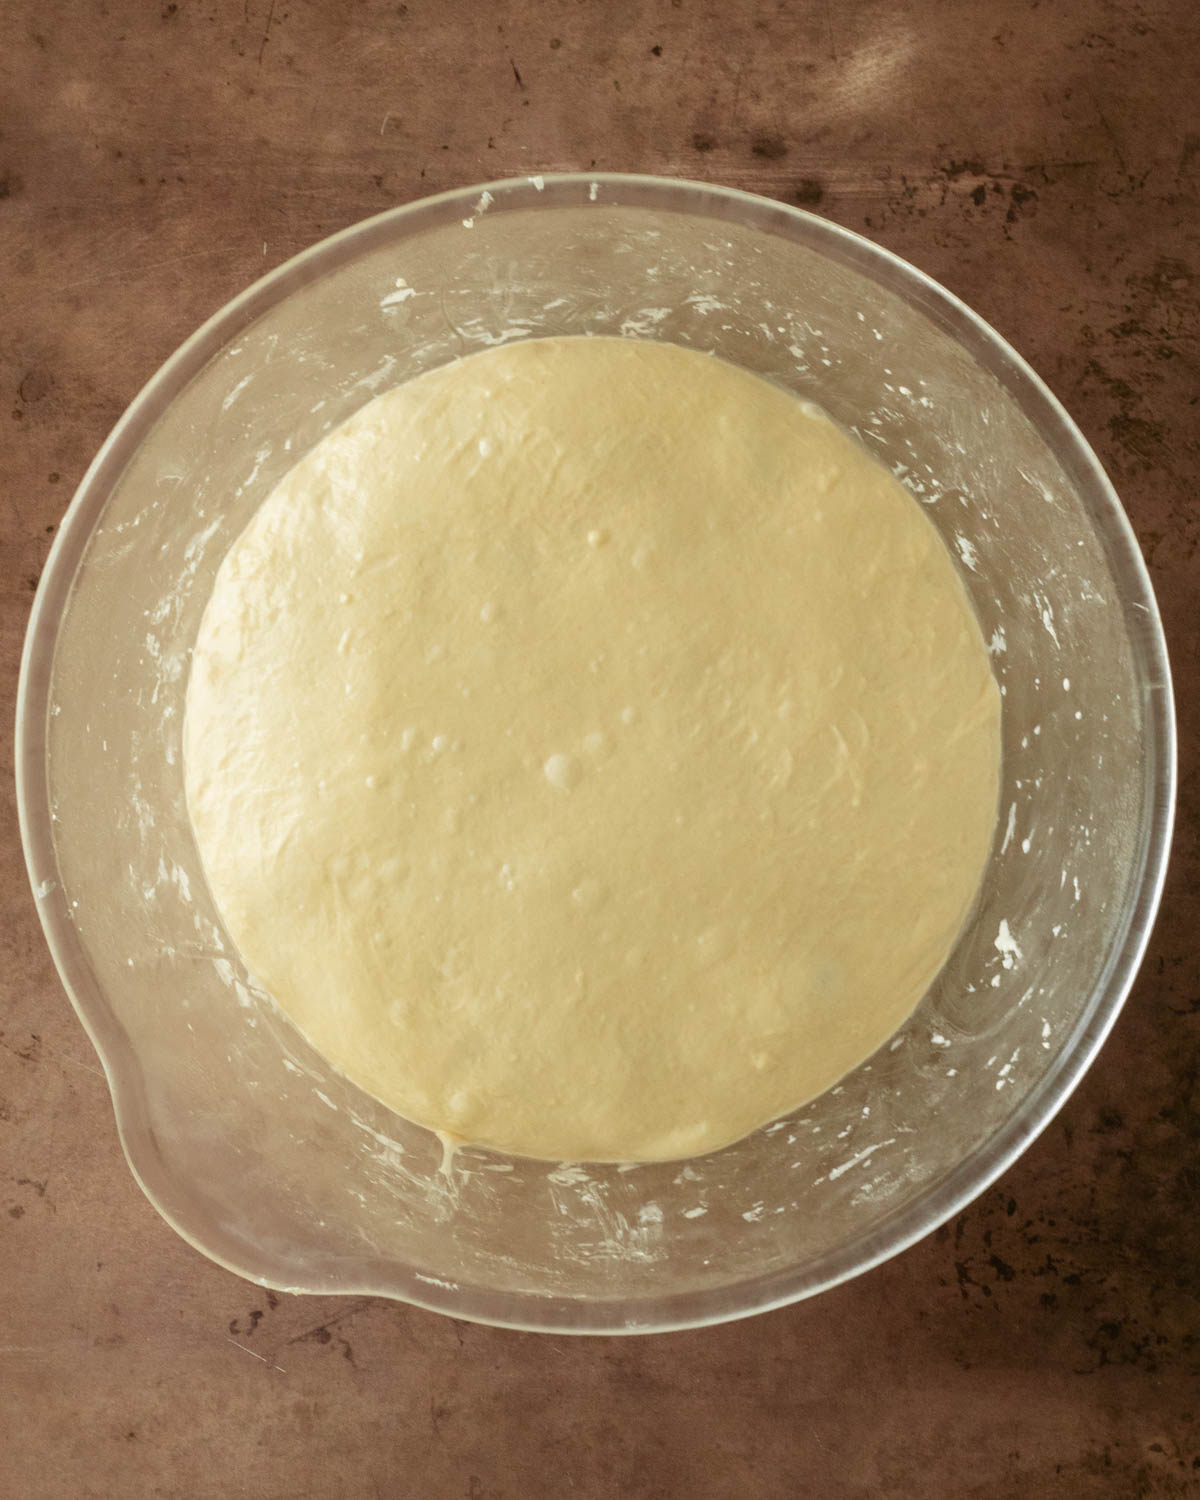
Step 9. Cover the dough then allow it to ferment for 12 hours.
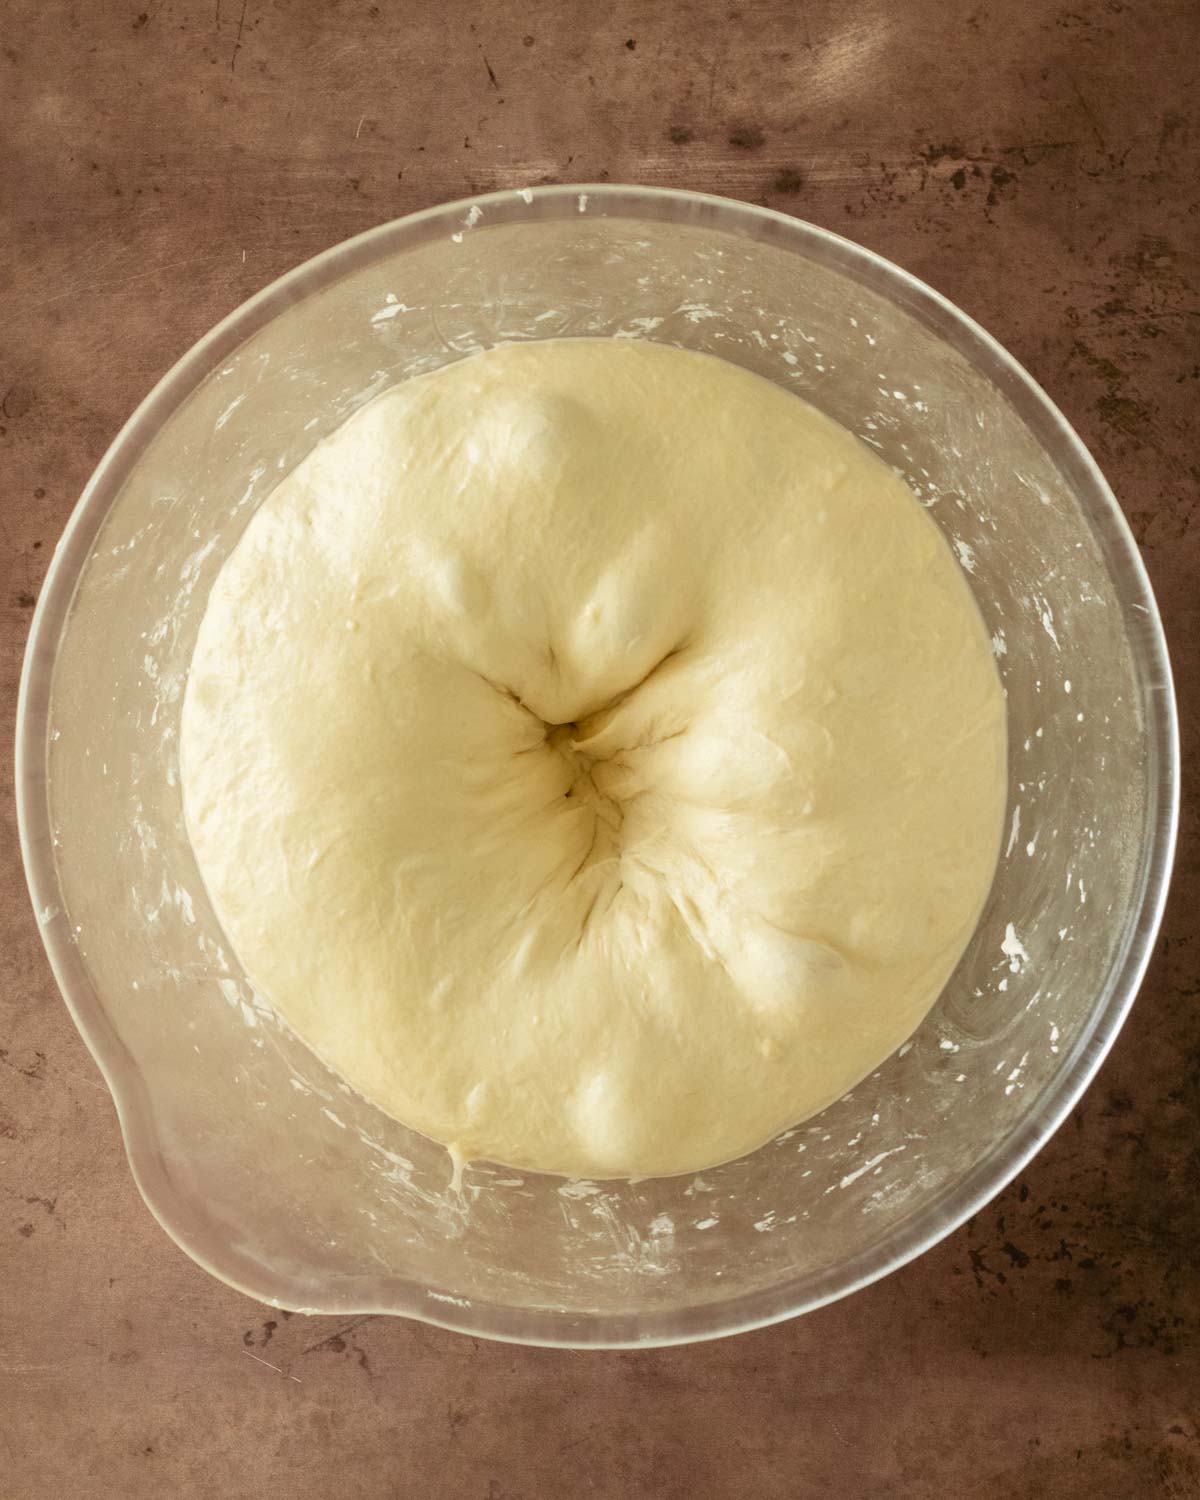
Step 10. Use your fist to punch the center of the dough.
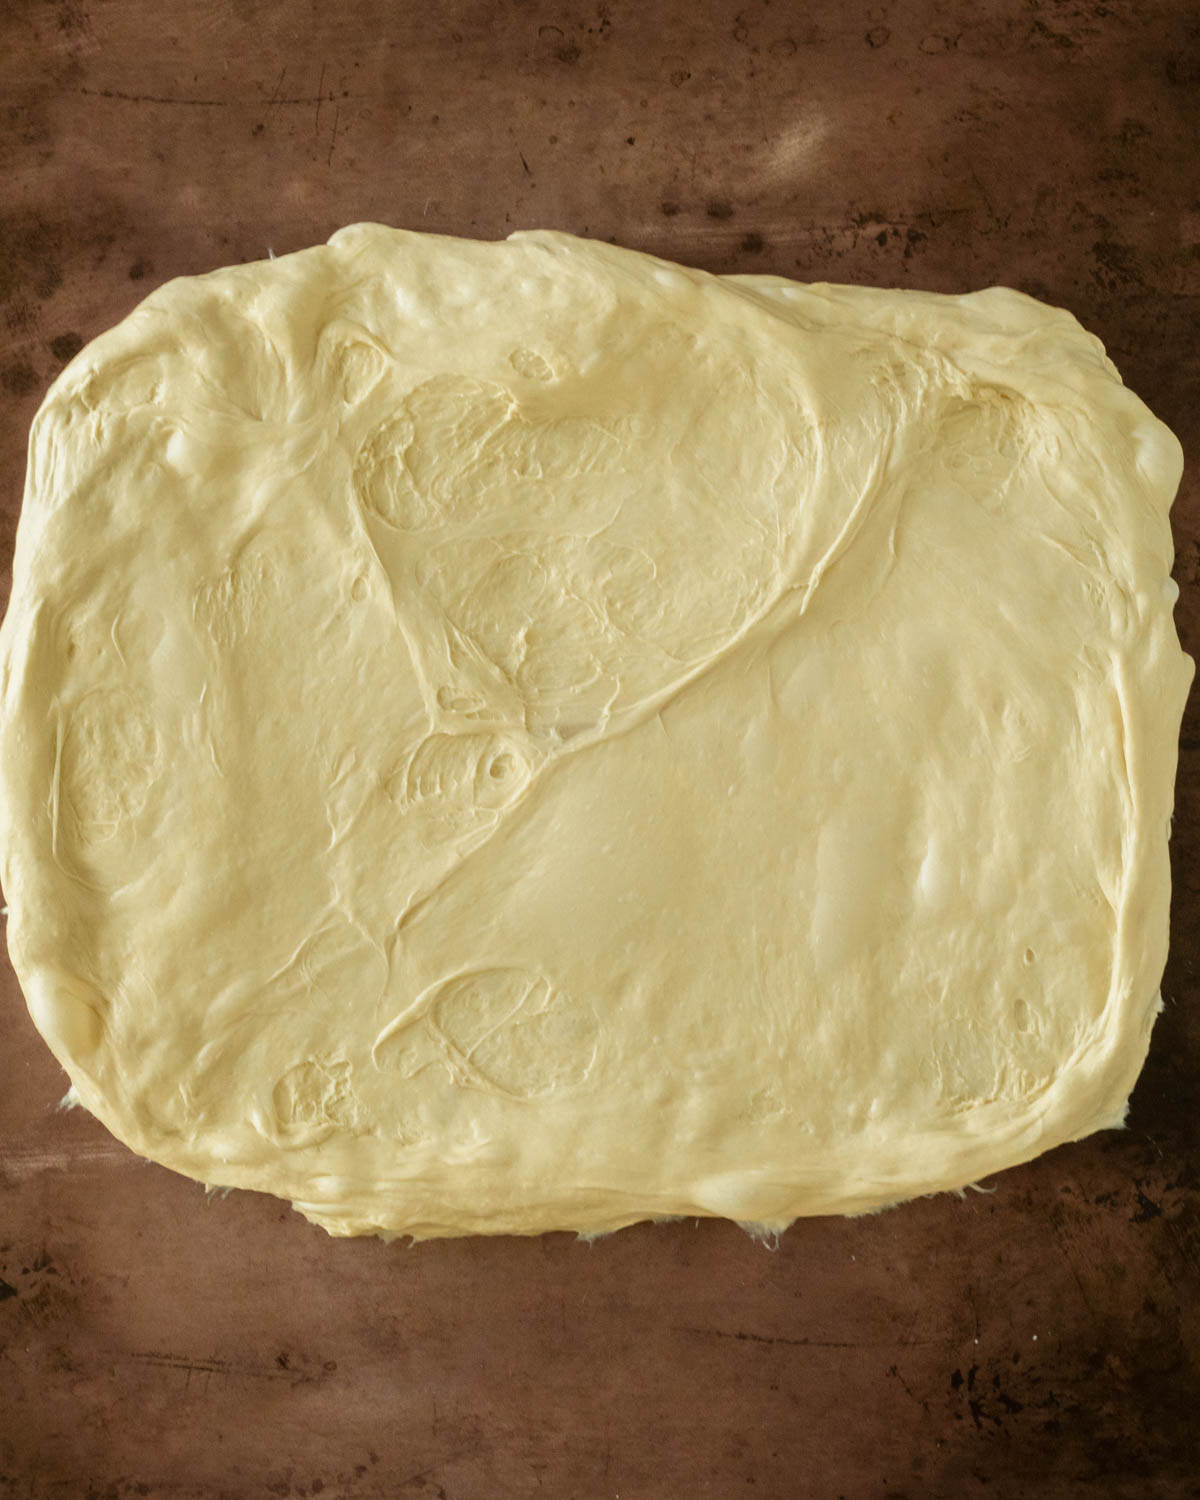
Step 11. Transfer the dough to a clean surface then stretch it out to laminate it.
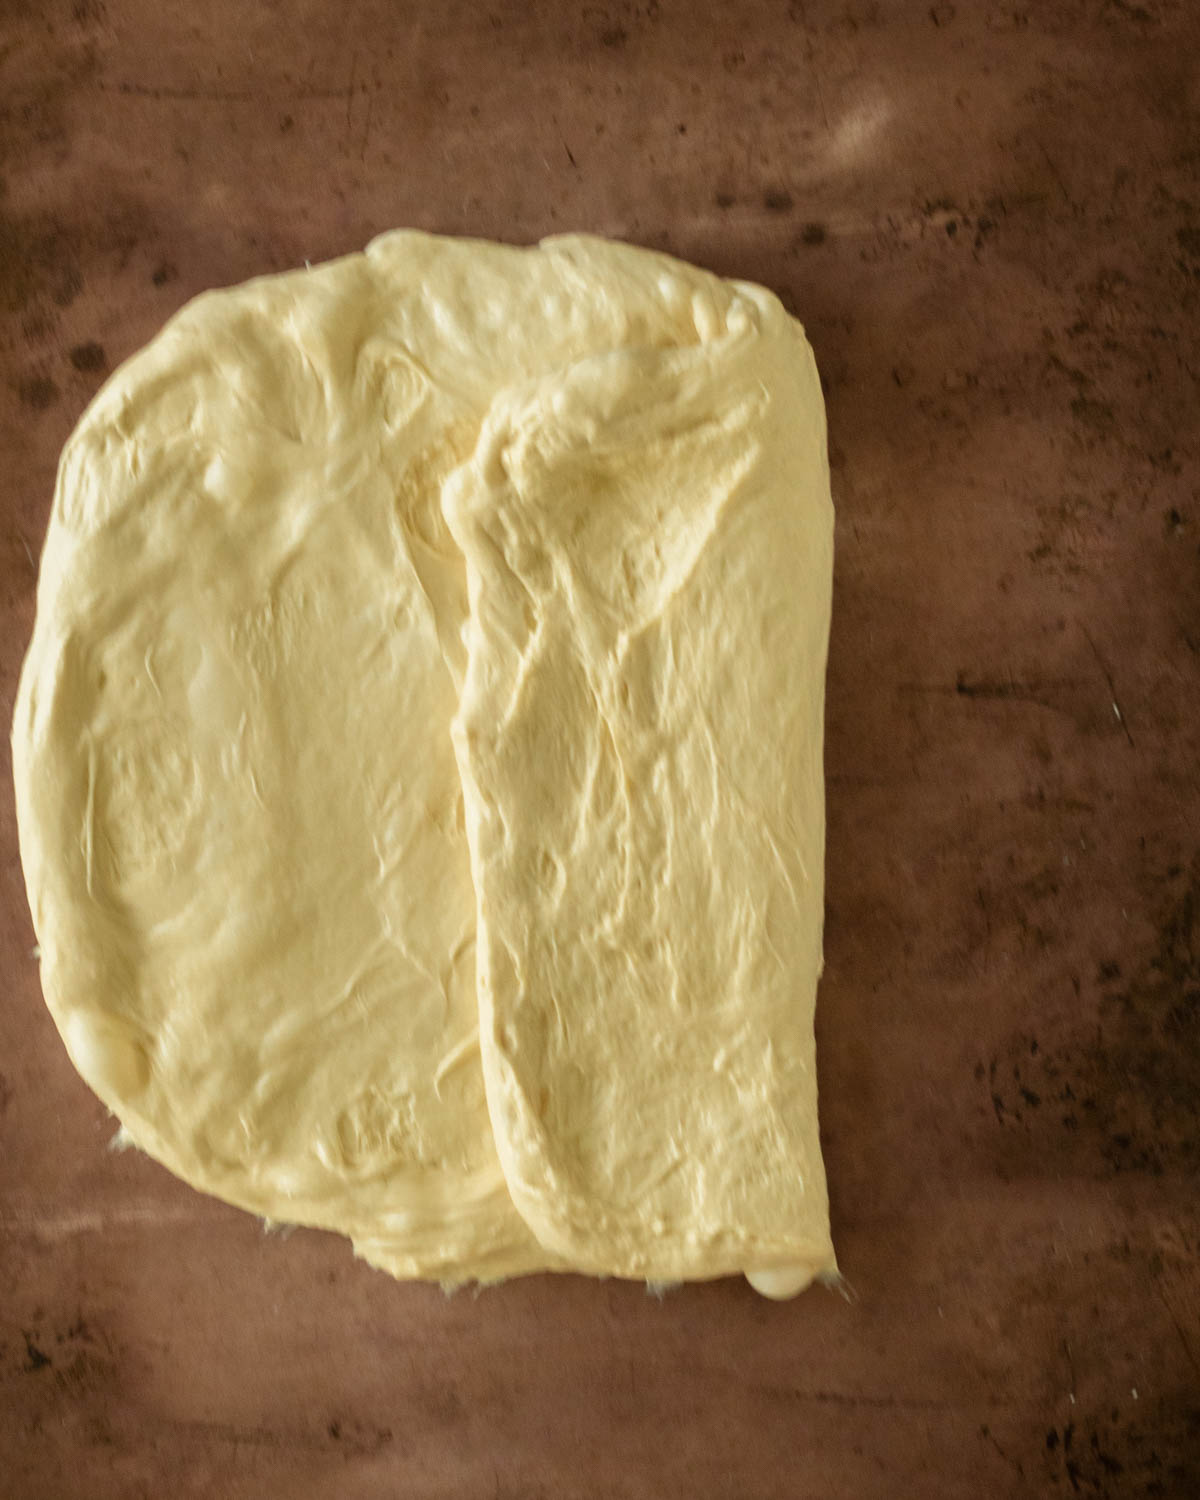
Step 12. Fold one side over into the middle.
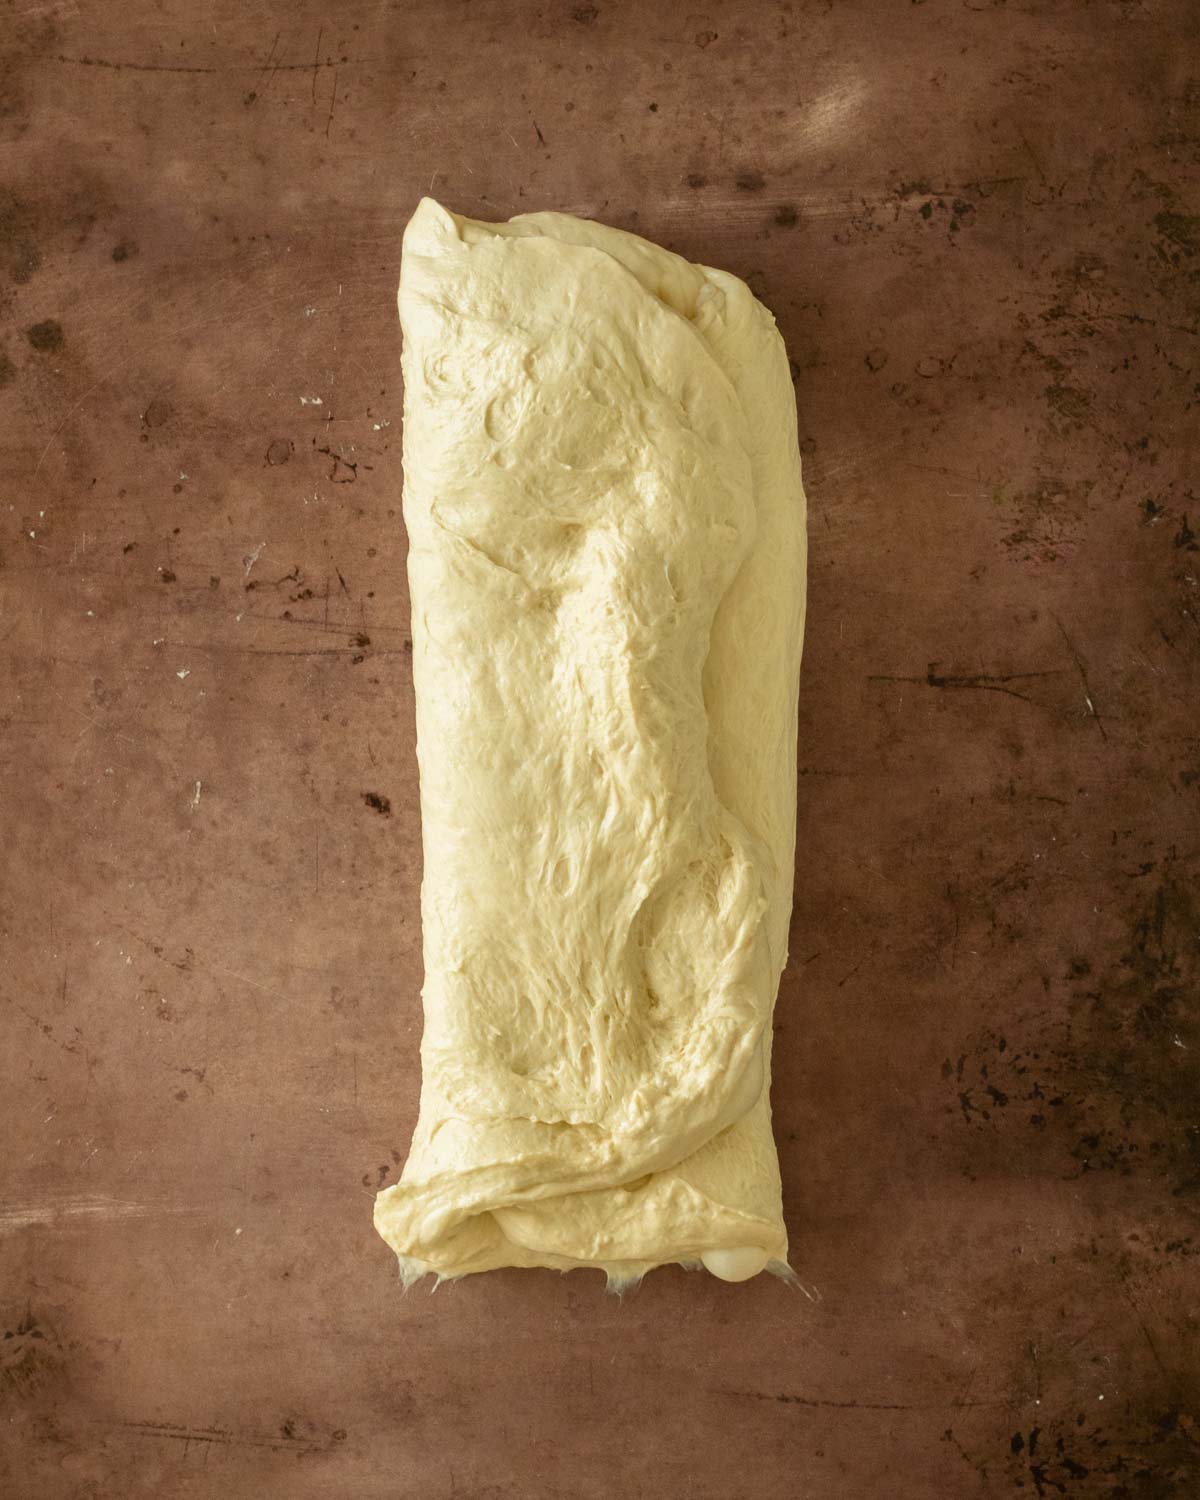
Step 13. Fold the other side into the middle.
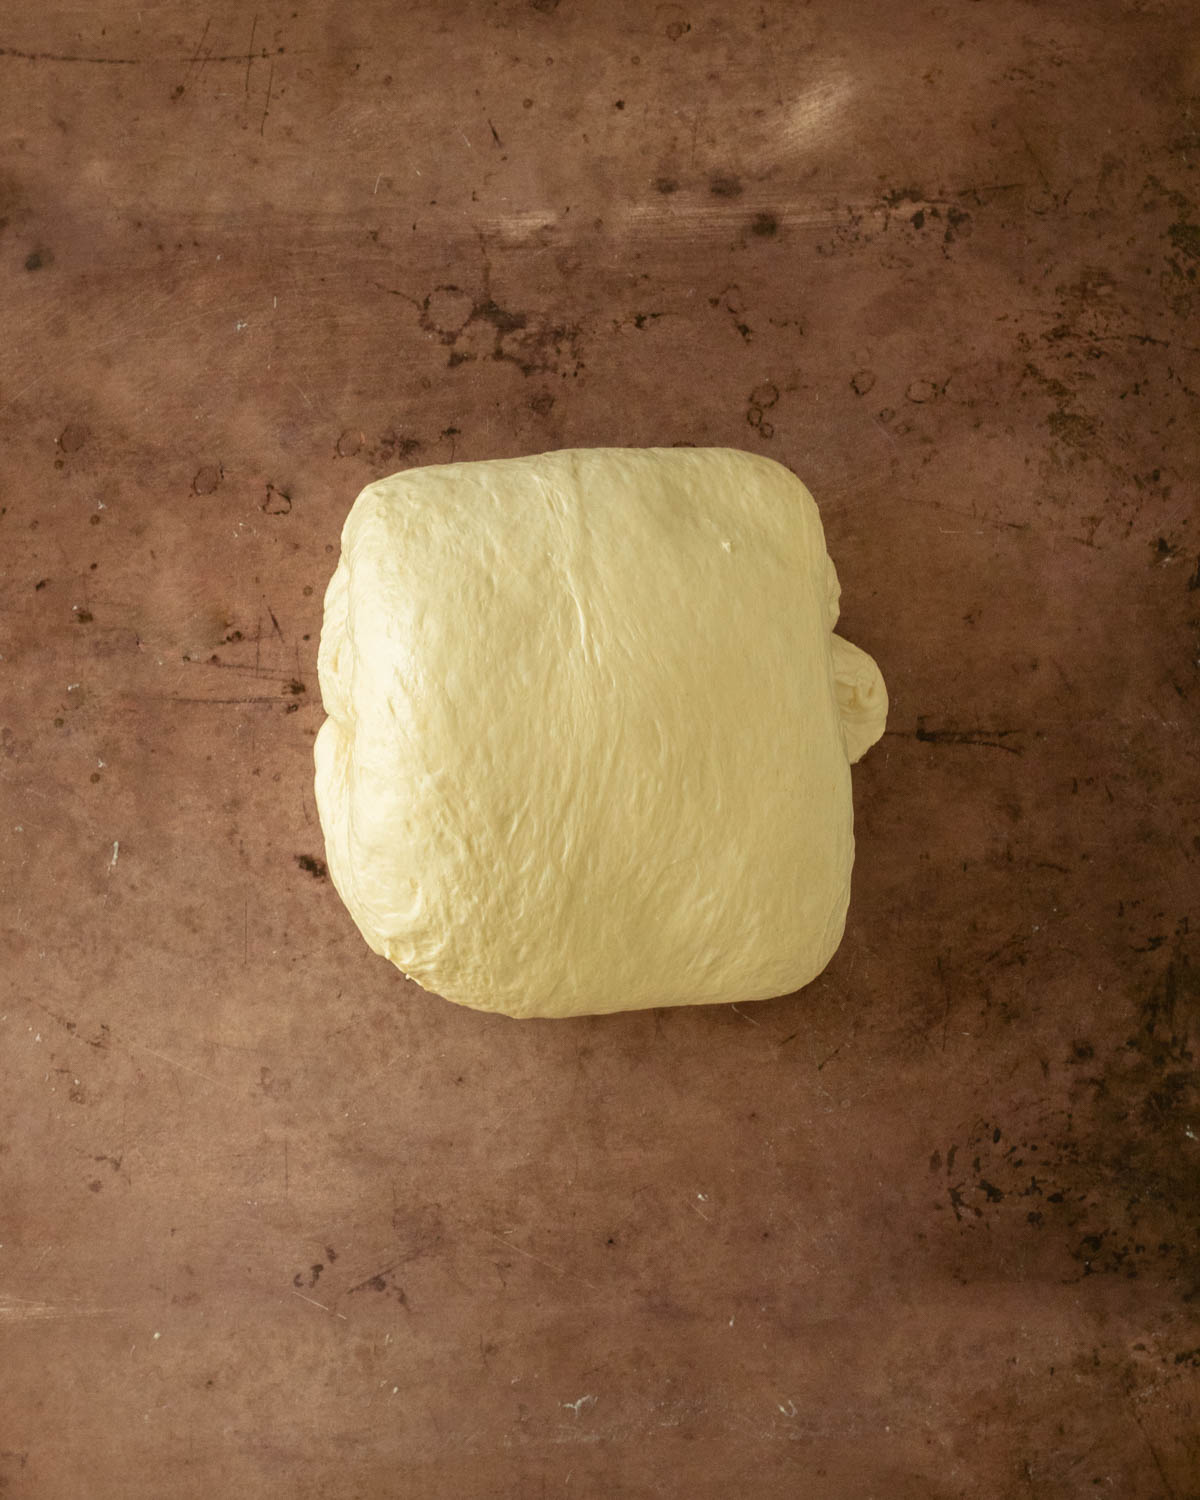
Step 14. Roll the dough up into a ball.
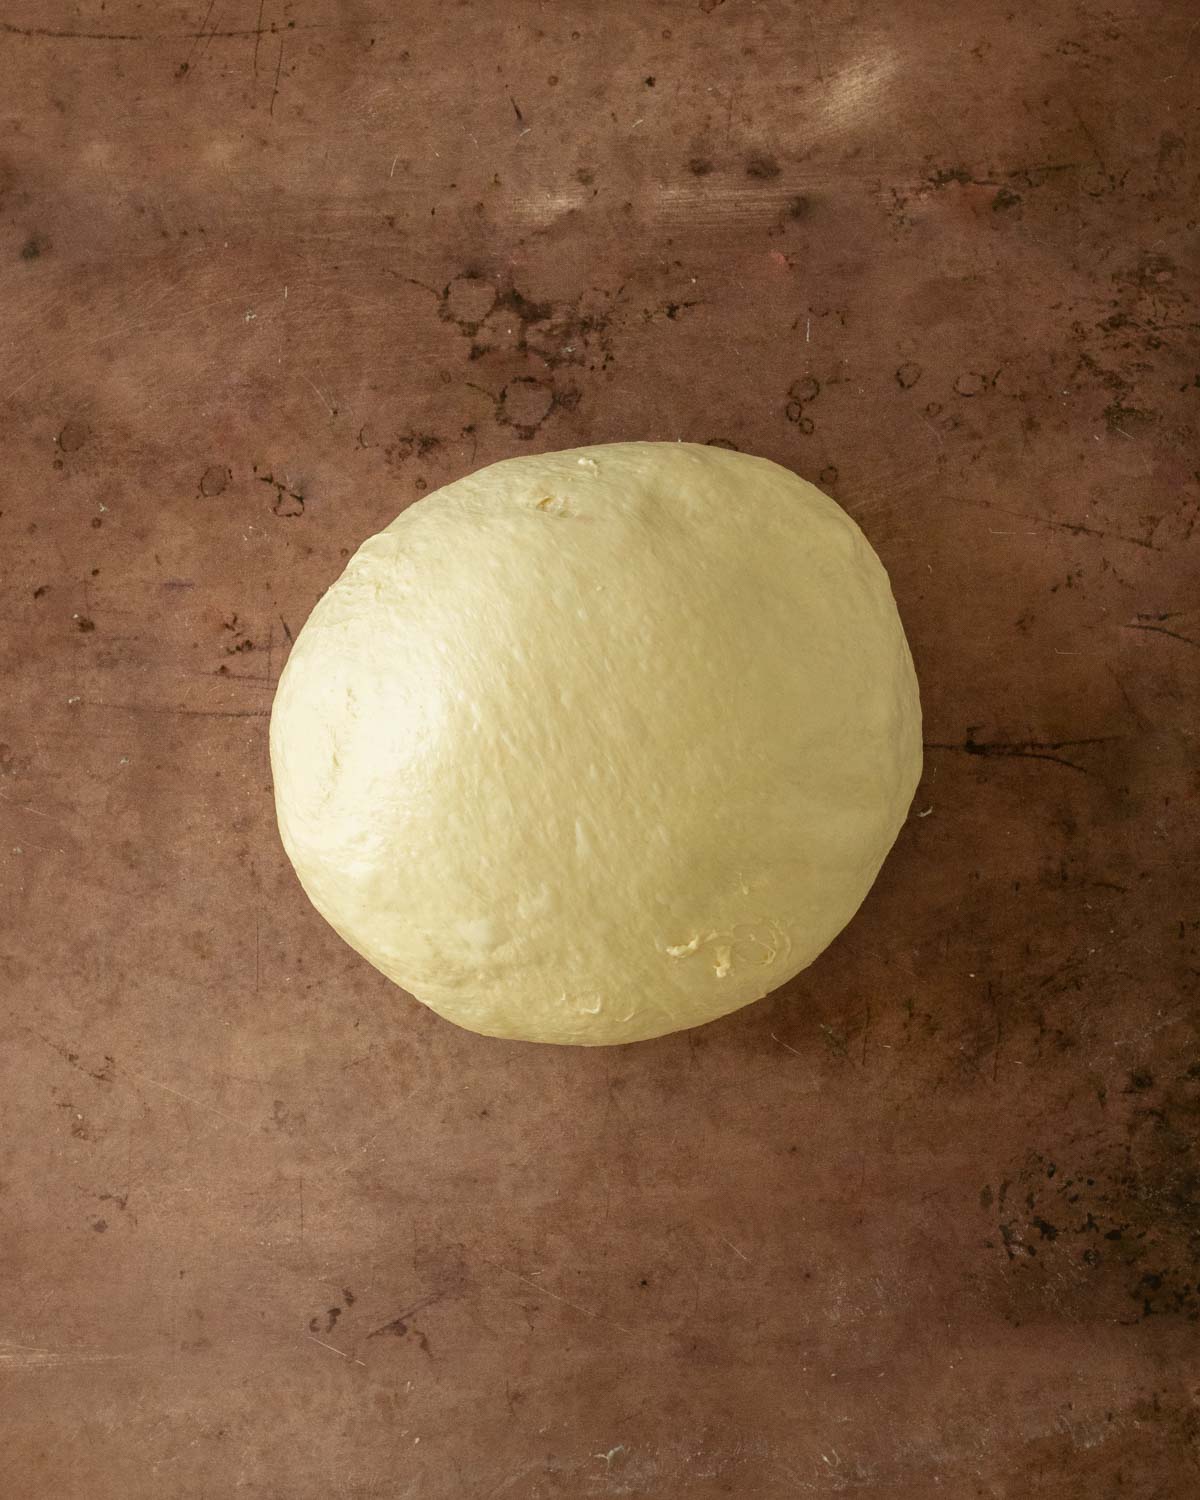
Step 15. Push the dough away then pull it back to form a ball. Rest 20 minutes then repeat the shaping process.
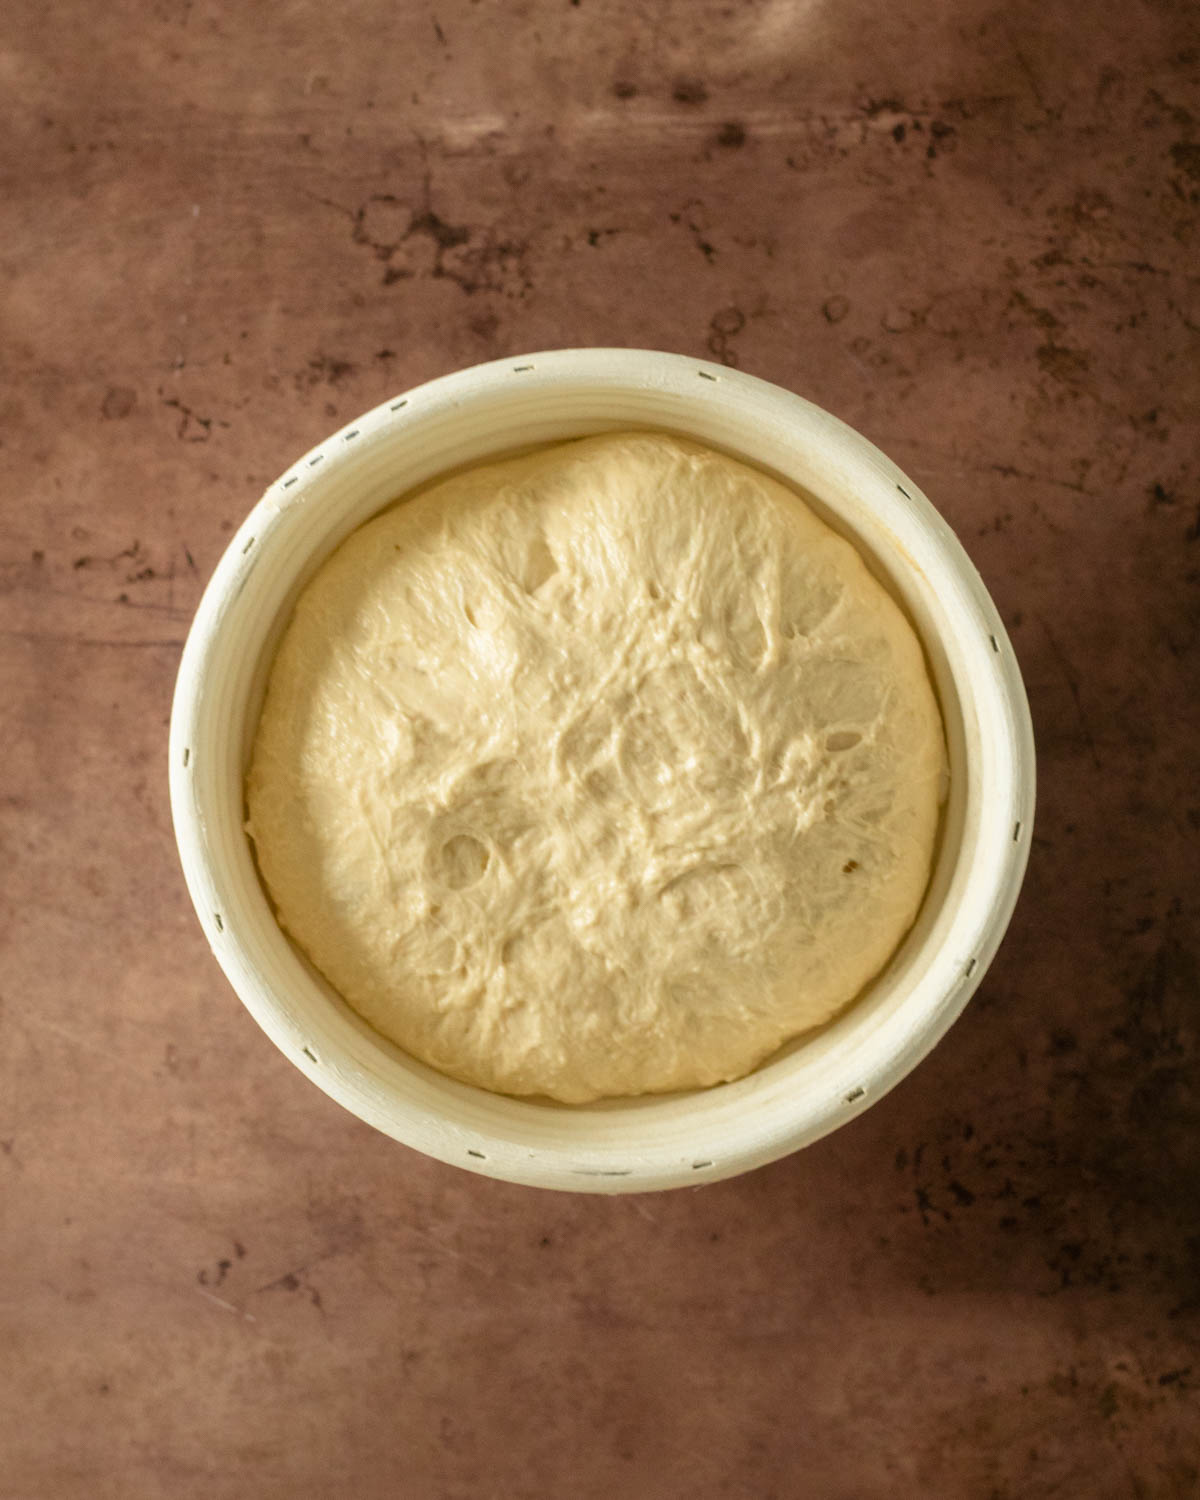
Step 16. Flip the dough into a proofing basket to proof in the fridge.
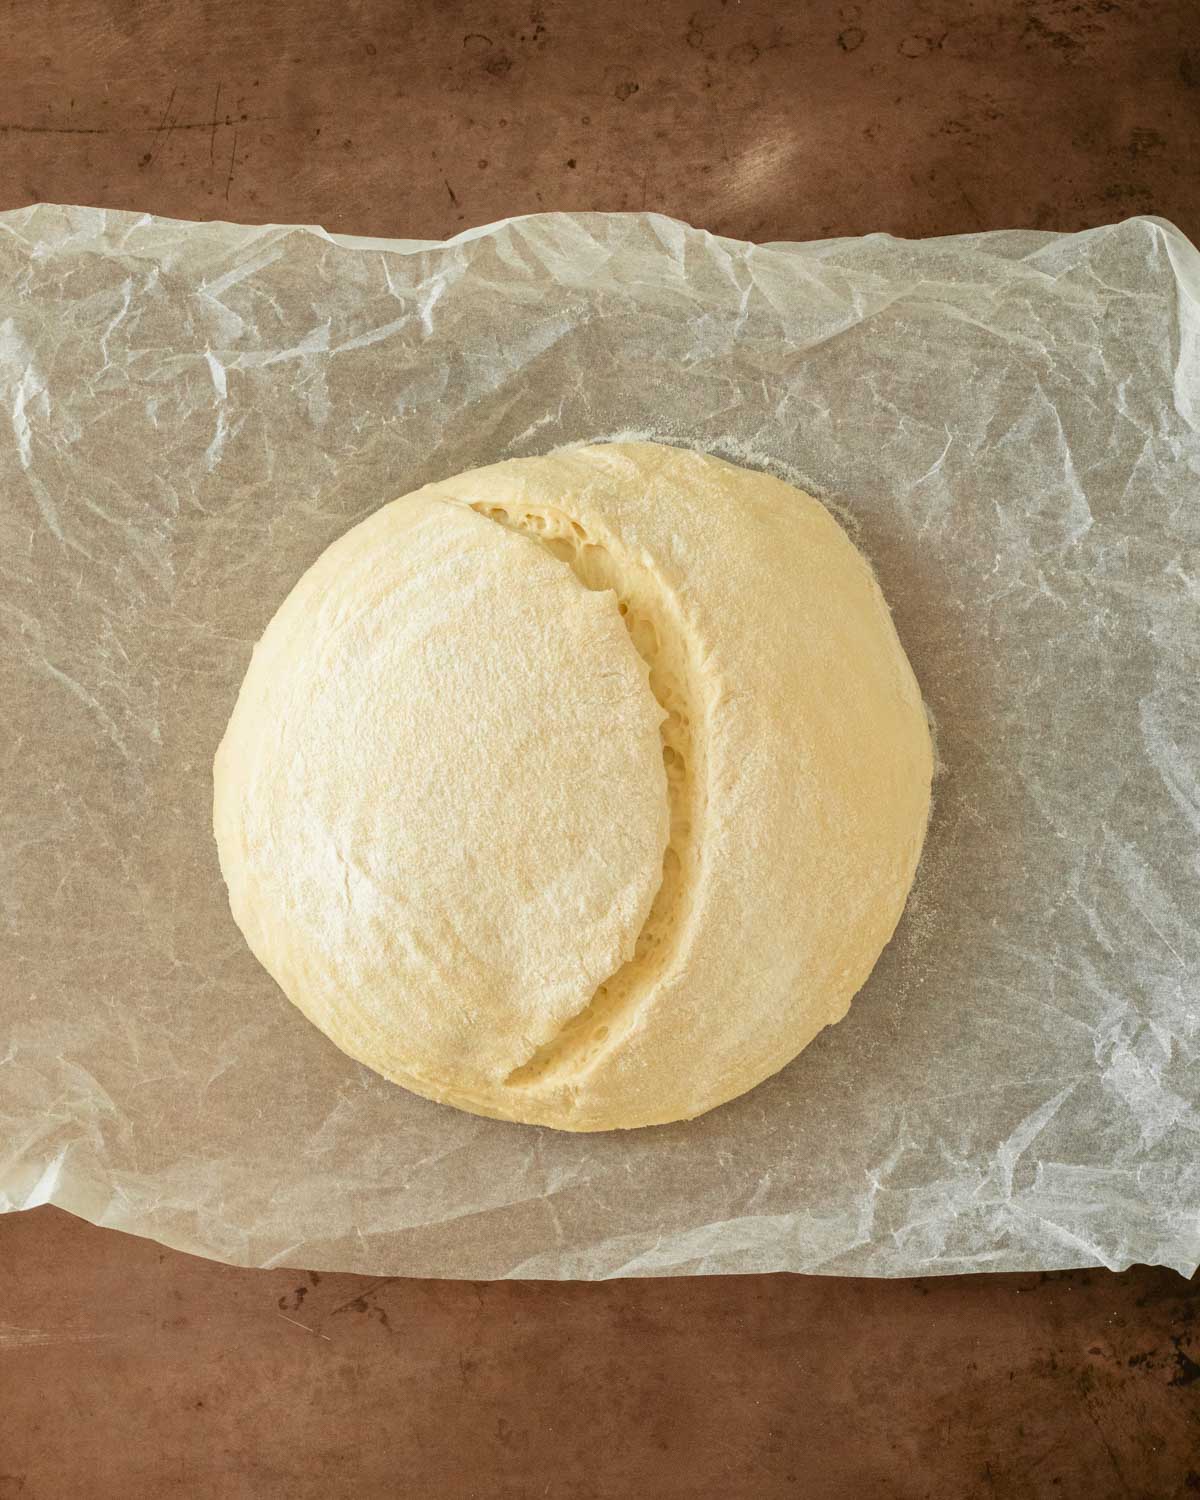
Step 17. Flip the dough onto parchment paper then score.
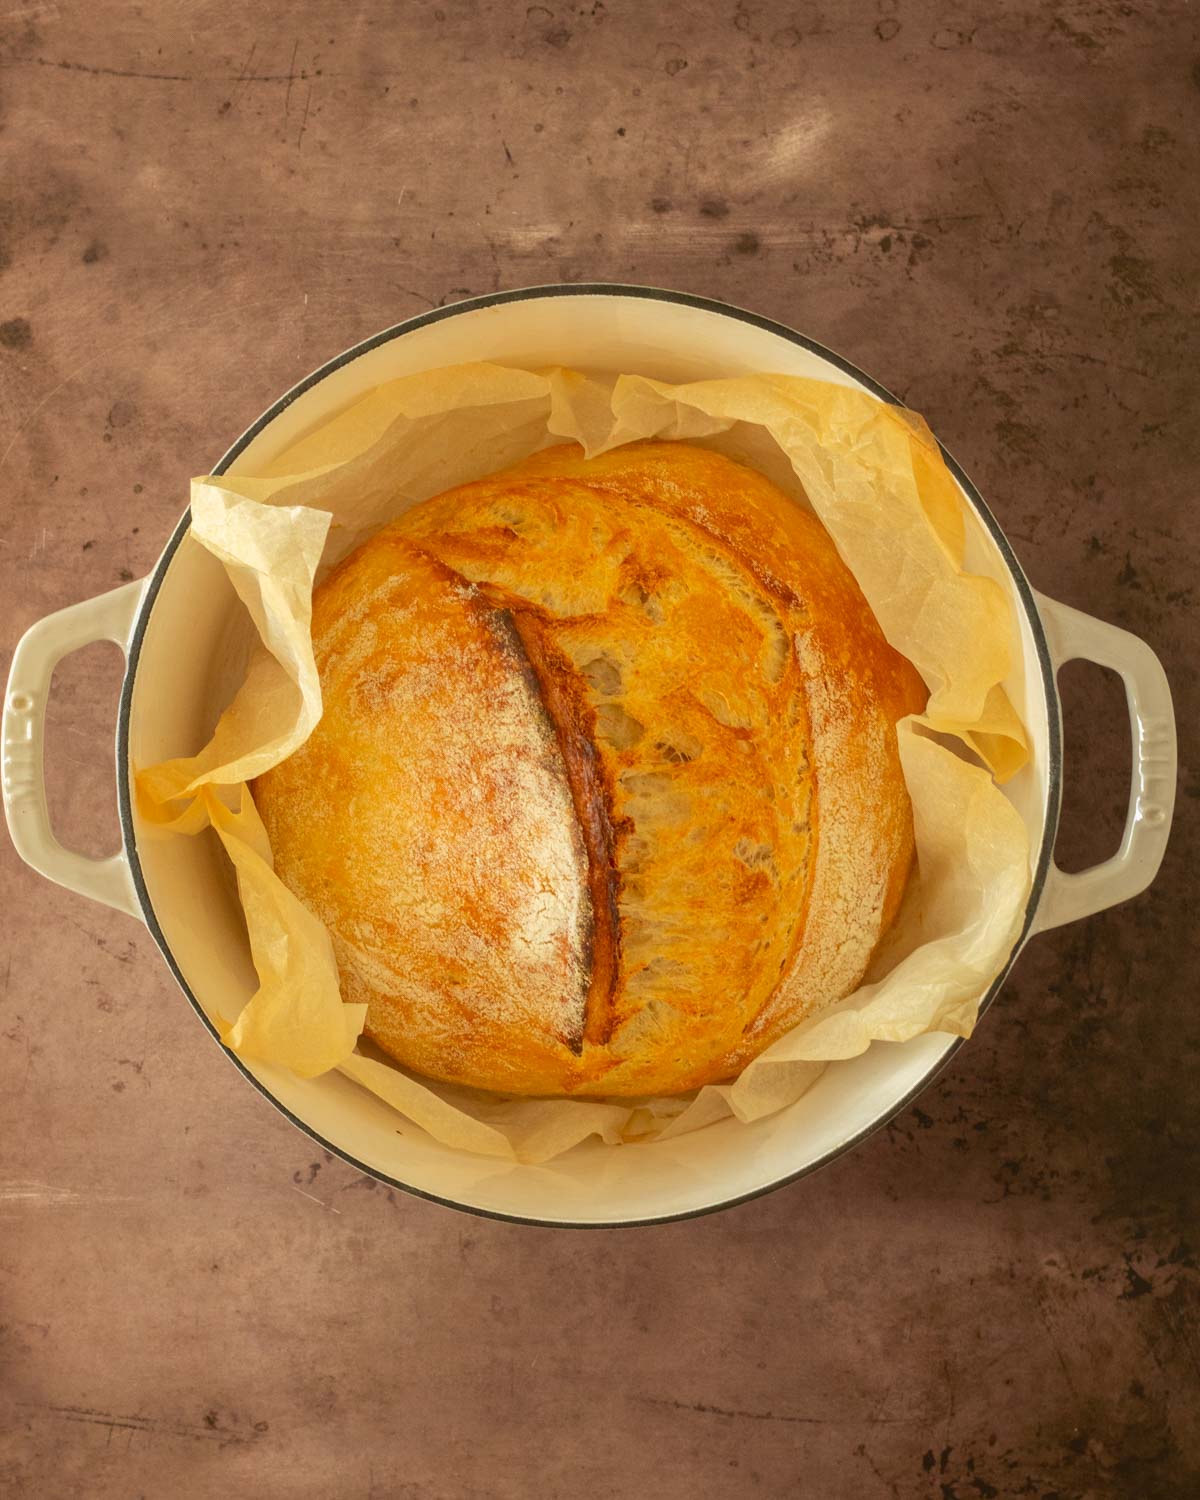
Step 18. Bake the bread in the oven.
Recipe Serving Suggestions
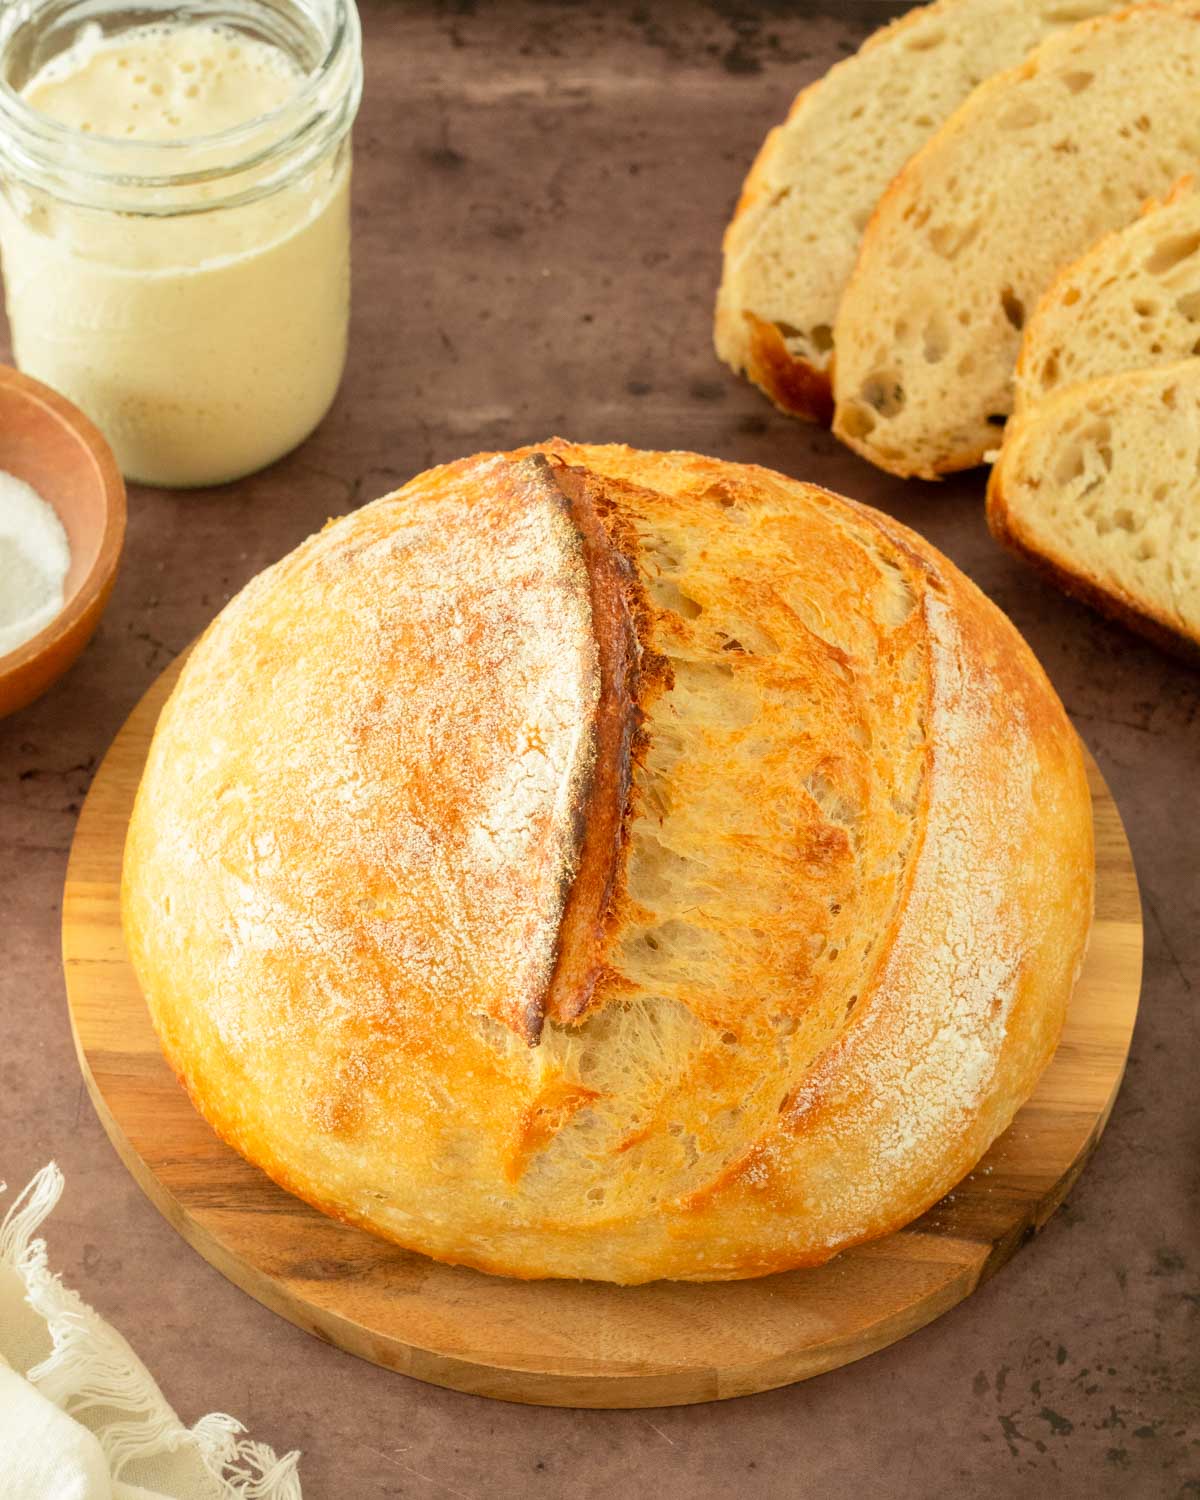
This recipe makes one loaf of sourdough bread that can but cut into 10-12 slices. We love eating this warm or toasted with butter and jam, as a sandwich and even as a side dish with meals.
If you like this recipe, you will love our other sourdough recipes.
Expert Tips & Variations
- Start the bread at night to bake in the morning. We love starting this bread in the evening so it is ready to be shaped, proofed and then baked in the morning.
- Customize with add-ins. One of our favorite ways to make this bread even more delicious is adding jalapenos and cheddar cheese during the shaping stage. This makes delicious jalapeno cheddar bread.
- Feed the sourdough starter. It is important to feed your sourdough starter with more flour and water after you use a portion of it for this recipe. After you remove the active starter for the dough, feed your remaining starter equal parts flour and water so your starter continues to grow.
How to Store Sourdough Bread
Sourdough bread is best when stored in slices. Allow the loaf to cool completely then cut it into slices to then store on the countertop or in the freezer.
- Countertop - in an airtight container for 5 days
- Freezer - in an airtight container for up to 3 months.
Recipe FAQ
We recommend using a Dutch oven because it acts as a mini-oven that traps steam inside. This keeps the inside of the loaf soft while also allowing the crust to form.
You can make gluten-free sourdough bread with a gluten-free sourdough starter. Follow my step-by-step guide to making gluten-free sourdough bread here.
More Sourdough Recipes
Sourdough Bread
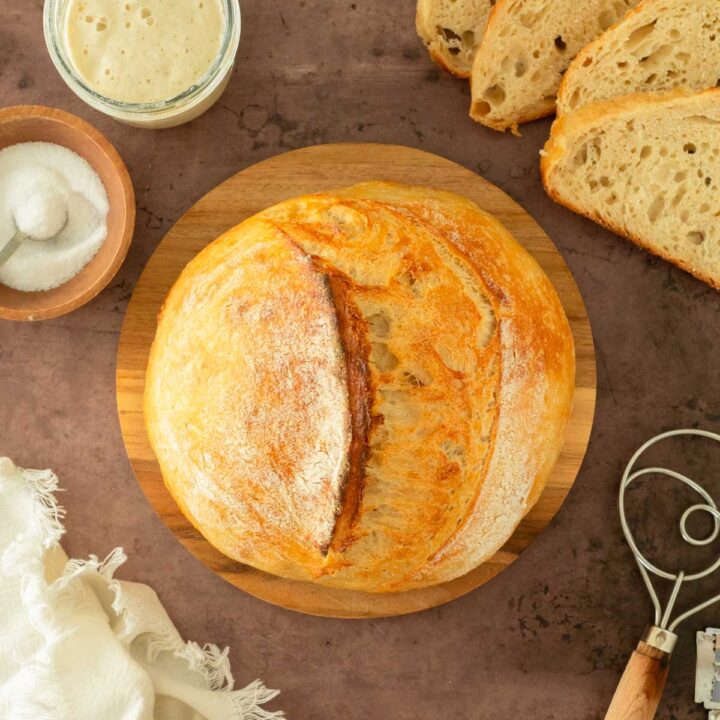
This guide to how to make sourdough bread is an easy-to-follow step-by-step guide to making classic sourdough bread from scratch. This recipe calls for 4 simple ingredients to make delicious, homemade bread.
Ingredients
- 350 grams water (1 + ⅓ cups)
- 150 grams active sourdough starter (¾ cup)
- 550 grams unbleached flour (3.5 cups)
- 12 grams salt (2 teaspoons)
Instructions
- 8-12 hours before mixing the bread dough, make the leaven. Add ½ cup unbleached flour, ½ cup water and 1-2 Tablespoons sourdough starter to a clean jar. Mix to combine, cover and set aside for 8-12 hours.
- Once the starter has doubled in size and is bubbly, mix the dough.
- Add the water and starter to a large bowl.
- Whisk the water and starter together.
- Add the flour.
- Use damp hands to combine the water, starter and flour together to form a sticky, shaggy ball of dough.
- Cover the bowl of dough with plastic wrap and set aside for 20 minutes to allow it to autolyse.
- After 20 minutes, uncover the bowl and sprinkle the salt over the dough.
- Wet your hands and use your fingers to poke the salt into the dough.
- Stretch and fold the dough to mix the salt into the dough. Do this by gently pulling one side of the dough up and away from the bowl. Stretch the dough without causing it to tear, then fold it back into the center of the dough. Turn the bowl and quarter turn and repeat the process until all sides of the dough have been stretched out and folded inward.
- Cover and set aside for 30 minutes.
- After 30 minutes, uncover the bowl and complete another round of stretch and folds.
- Cover and set aside for 30 minutes.
- Continue to stretch and fold the dough every 30 minutes for the course of 2 hours or when 4 rounds of stretch and folds have been completed.
- On the last stretch and fold, gently form the dough into a ball with the seam facing down.
- Place the ball of dough in the bowl and cover. You can either leave the dough at room temperature or place it in the fridge to long ferment.
- After 12 hours or when the dough has doubled in size, remove the dough from the bowl onto a clean work surface.
- Gently stretch the dough out into a thin rectangle to laminate the dough.
- Begin to shape the dough by folding one side of the rectangle in toward the center followed by the other side.
- Roll the dough up into a ball with the seam side facing down.
- Use your hands to push the dough away from you on the countertop, then cup it with your hands to pull it in toward you to create tension in the loaf. Push and pull the dough away 5 times, keeping the seam side down.
- Cover the ball of dough with a tea towel and allow to rest on the counter for 20 minutes.
- After 20 minutes, use a bench scrapper to flip the dough over so the seam is facing up.
- Gently unfold the dough to carefully stretch it out into a rectangle. The dough will not stretch near as much as it did the first shape.
- Fold the sides in and roll the dough up.
- Push and pull the dough to create tension and shape it into a circle.
- Lightly flour a banneton basket and use the bench scraper to flip the dough into the basket with the seam facing up.
- Cover the banneton basket with plastic wrap and place in the fridge to proof for 1-2 hours.
- After 1-2 hours, preheat the oven to 500 degrees with the Dutch oven inside.
- Remove the banneton from the fridge.
- Carefully flip the bread onto a piece of parchment paper.
- Use a bread lame to score the loaf.
- Once the oven is preheated, remove the Dutch oven from the oven.
- Transfer the loaf on the parchment paper into the Dutch oven.
- Place the lid on the Dutch oven and transfer the Dutch oven back into the oven.
- Decrease the oven temperature to 450 degrees.
- Bake the loaf with the lid on the Dutch oven for 30 minutes.
- After 30 minutes, remove the lid from the Dutch oven and allow the bread to bake for an additional 20-25 minutes or until the outside is browned to your liking.
- Once the bread is done, remove the Dutch oven from the oven.
- Remove the loaf from the Dutch oven and place on a cooling rack to cool completely before slicing.
Nutrition Information:
Yield: 12 Serving Size: 1Amount Per Serving: Calories: 189Total Fat: 1gSaturated Fat: 0gTrans Fat: 0gUnsaturated Fat: 0gCholesterol: 0mgSodium: 390mgCarbohydrates: 40gFiber: 2gSugar: 0gProtein: 5g

